There are three steps to ensure that a user is logged in with the identity provider:
- Grab the access token from local storage
- Verify the access token
- Update the access token (if necessary)
Here’s what we have written so far in persist-state.js
const token = localStore.get('github')
if (token) {  // Sends request to server  const response = await zlFetch.post('/auth/github/verify', {    body: { accessToken: token.accessToken },  })
  if (response) {    setLoginStatus({ provider: 'github', loggedIn: true })  }}
We can code the Twitter part up in two ways:
- We’ll code the Github and Twitter code separately.
- Or… we can handle Github and Twitter at once.
Here’s how to choose:
- Choose method #1 if you’re unsure of how everything works.
- Choose method #2 when you’re ready to refactor.
In this case, we’re going to go with the second method straight away because I know how everything works and I can walk you through the process quickly.
Step 1: Grab the access token
We can put the two providers into a single array since we’re going to handle Github and Twitter at once.
const providers = ['github', 'twitter']We can loop through the array to check the validity of the token.
providers.forEach(provider => { const token = localStore.get(provider))If we cannot find the token we know the user has not logged in with that provider. So we can do an early return and stop the function from going on.
providers.forEach(provider => { const token = localStore.get(provider) if (!token) return)Step 2: Verify the access token
This gets a little tricky because we have two similar but different conditions.
- Github tokens don’t expire
- Twitter tokens expire
So we need to know whether the token is can expire. We also need to know whether the token has expired (if it can expire).
We can tell using the following conditions:
- If there is an
expiresAtproperty, we know the token can expire. - If
Date.now()is larger thanexpiresAt, we know the token has expired
This brings us to the following conditional statement:
providers.forEach(provider => {  const { accessToken, refreshToken, expiresAt } = token
  if (expiresAt && Date.now() > expiresAt) {    // Token has expired...  })
The next part is a bit complicated so follow along closely.
- If the token has expired, we know the access token is invalid, so we don’t need to check the validity of the access token with the API anymore.
- If the token has not expired, or if the token doesn’t have an expiry value, we need to check the validity of the access token with the API.
There are too many conditions here to make sense of in a single function. So let’s create a new function to check the validity of the token. We’ll call it isTokenValid.
First, we check whether the token has expired. If has expired, we will return false because the token is no longer valid.
async function isTokenValid({ provider, accessToken, expiresAt }) { if (expiresAt && Date.now() >= expiresAt) return false}If the token has not expired, or if the token doesn’t have an expiry value, we check whether the token is valid with the API.
To do this, we will send the user to an endpoint in our backend like before:
async function isTokenValid({ provider, accessToken, expiresAt }) {  // ...
  // Checks the validity of the token through an API  const { response } = await zlFetch.post(`/auth/${provider}/verify`, {    body: { accessToken },    returnError: true,  })
  if (response) return true  return false}
We can use isValidToken like this:
providers.forEach(async provider => { // ... const { accessToken, refreshToken, expiresAt } = token const isValid = await isTokenValid({ provider, accessToken, expiresAt }))If the token is valid, we can set the login status to true and we’re done.
providers.forEach(async provider => {  // ...  const { accessToken, refreshToken, expiresAt } = token  const isValid = await isTokenValid({ provider, accessToken, expiresAt })
  if (isValid) {    setLoginStatus({provider, loggedIn: true})  })
If the token is invalid, we need to use the refresh token to generate another access token…
We’ll talk about this process after we make our backend work.
providers.forEach(async provider => {  // ...
  if (isValid) {    setLoginStatus({provider, loggedIn: true})  }
  // Code to generate another access token goes here...)
Making the backend work
In isTokenValid, we send a request to our server for each provider.
async function isTokenValid({ provider, accessToken, expiresAt }) { // ... const { response } = await zlFetch.post(`/auth/${provider}/verify`, { body: { accessToken }, returnError: true, }) // ...}Currently we don’t have an endpoint for /auth/twitter/verify, so we need to create it.
router.post('/auth/twitter/verify', async (req, res) => { // ...})We have to extract the access token from the body…
router.post('/auth/twitter/verify', async (req, res) => { const { accessToken } = req.body})… and we have to check whether the access token is valid.
We can do this by sending a request to Twitter.
In this case, we can use the /user/me endpoint. (This API is buried pretty deep into the docs so don’t blame yourself if you can’t find it).
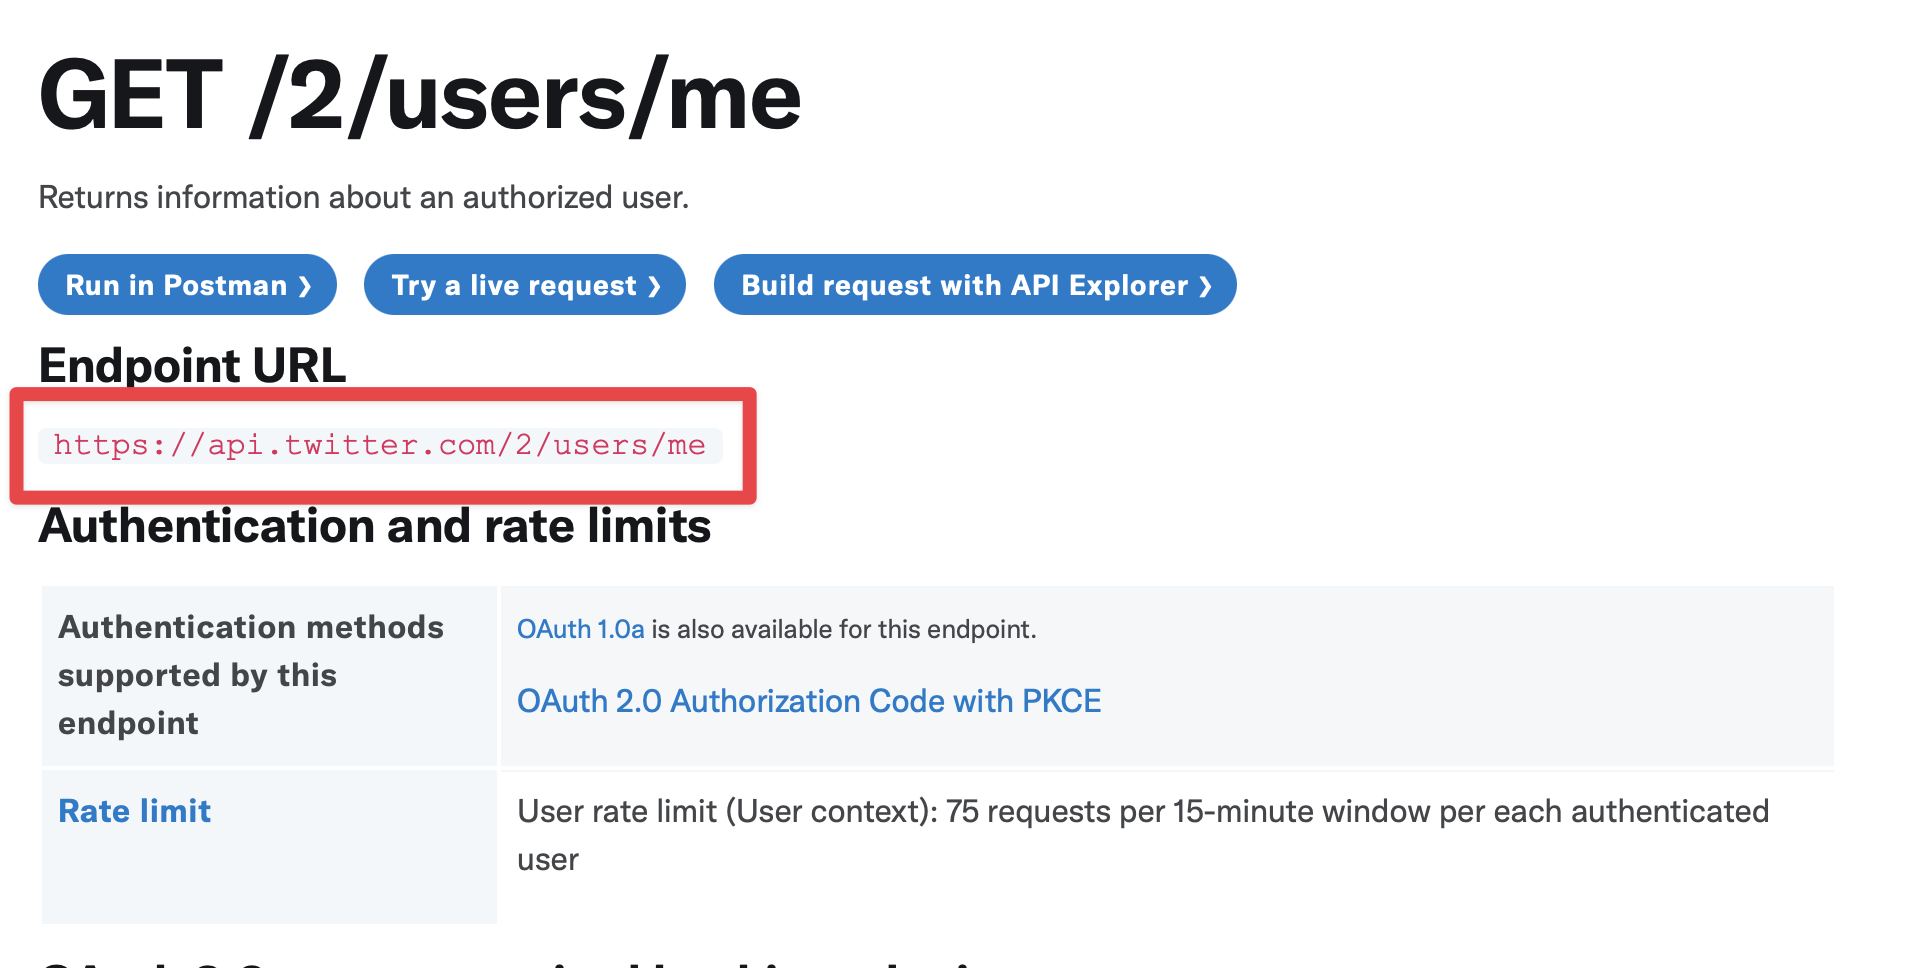
Here’s the request to send.
router.post('/auth/twitter/verify', async (req, res) => {  // ...
  const { response, error } = await zlFetch(    'https://api.twitter.com/2/users/me',    {      auth: accessToken,      headers: {        'Content-Type': 'application/x-www-form-urlencoded',      },      returnError: true,    },  )})
If the response is successful, we know the access token is valid. Otherwise we know it’s invalid.
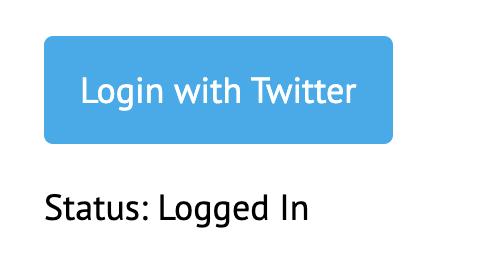
router.post('/auth/twitter/verify', async (req, res) => { // ... if (response) { res.json({ status: 'success' }) } else { res.status(error.status).json({ message: error.body.message }) }})The code we’ve written up to this point should work now — you should be able to see the Twitter Status set to Logged In when you refresh your browser.
We’ll handle how to use the refresh token in the next lesson.
Welcome! Unfortunately, you don’t have access to this lesson. To get access, please purchase the course or enroll in Magical Dev School.
Unlock this lesson