Let’s work on logging users in with Twitter because it’s also something we know how to do.
There are four steps:
- Create the app
- Create the sign-in link
- User logs in on twitter
- Exchange code for access token
Create the app
Here are the instructions from Twitter.
You can name the app anything you want.
- I named it Social Media App for Async JS.
- We’re going to set
callbackURLtohttps://localhost/auth/twitter/callback.

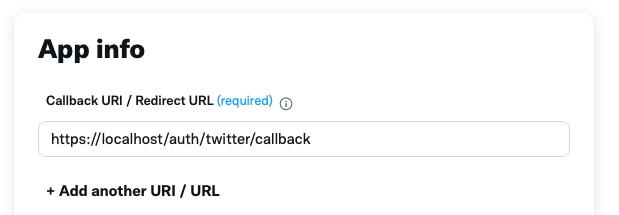
Before you move on, make sure you add your Twitter credentials to the .env file.
TWITTER_CLIENT_ID="Your Client ID"TWITTER_CLIENT_SECRET="Your Client Secret"Create a sign-in link
When the user clicks the sign-in link, we will redirect the user to Twitter. We can do this in two steps:
- We direct the user to an endpoint in our server.
- In this endpoint, we redirect the user to Twitter.
<!-- Direct user to endpoint in our server --><a href="/auth/twitter" ...> Login with Twitter </a>In this endpoint, we craft the sign-in link for Twitter. We’ve already done this in the OAuth chapter so we’re going to speed through some bits.
Here’s how you create the sign-in link.
import PKCE from '@zellwk/javascript/utils/pkce.js'
router.get('/auth/twitter', (req, res) => {  const pkce = await PKCE()
  const baseURL = 'https://twitter.com/i/oauth2/authorize'  const params = {    response_type: 'code',    client_id: process.env.TWITTER_CLIENT_ID,    redirect_uri: 'https://localhost/auth/twitter/callback',    state: pkce.state,    code_challenge: pkce.code_challenge,    code_challenge_method: pkce.code_challenge_method,    scope: 'tweet.read users.read offline.access'  }
const query = new URLSearchParams(params) const link = baseURL + '?' + query.toString()})We set scope to tweet.read, users.read and offline.access — because we
need these scopes to refresh the user’s access token later.
Twitter uses PKCE, so before we redirect the user to Twitter, we need to save code_verifier and state into cookies.
router.get('/auth/twitter', (req, res) => { // ... res.cookie('code_verifier', pkce.code_verifier, { httpsOnly: true, secure: true, }) res.cookie('state', pkce.state, { httpsOnly: true, secure: true })})Then we redirect the user to Twitter
router.get('/auth/twitter', (req, res) => { // ... res.redirect(link)})User logs in to Twitter
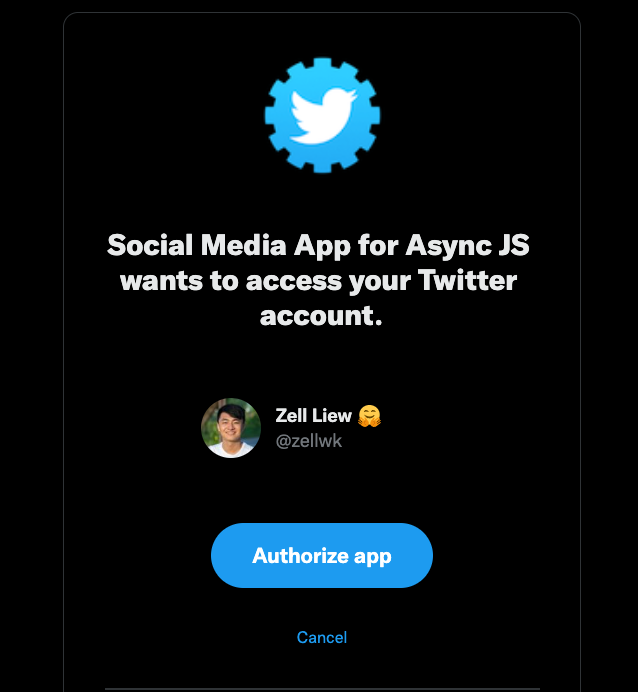
The user should see a screen like the one below, and they should be able to login to Twitter.
Nothing for us to do here :)
Exchange code for access token
When the user authorise the Twitter login, Twitter will redirect them back to /auth/twitter/callback.
We need to take a couple of steps here:
- Check whether
stateis valid - Grab
codefrom the url andcode_verifierfrom the cookies. - Send a request to Twitter to get the access token
Checking whether state is valid
We need to grab both state from the callback url and state from the cookies. We’ll check whether they are the same value before we proceed with the rest of the steps.
router.get('/auth/twitter/callback', async (req, res) => {  const { state: returnedState } = req.query  const { state } = req.cookies
  if (state !== returnedState) return})
Grabbing code and code_verifier
We need to grab both code and code_verifier because we need to send them to Twitter.
We can grab code from the callback URL and code_verifier from the cookies.
router.get('/auth/twitter/callback', async (req, res) => {  const { state: returnedState, code } = req.query  const { state, code_verifier } = req.cookies
  if (state !== returnedState) return})
Send a request to Twitter
Then we send this code to twitter’s token endpoint to get the access token.
We have covered this in the previous lessons so we’ll go through this portion quickly. Refer back to this lesson if you’re unsure of the steps.
Here’s the request to get an access token from Twitter.
router.get('/auth/twitter/callback', async (req, res) => {  // ...
  // Exchange code for access token  const response = await zlFetch.post(    'https://api.twitter.com/2/oauth2/token',    {      auth: {        username: process.env.TWITTER_CLIENT_ID,        password: process.env.TWITTER_CLIENT_SECRET      },      headers: {        'Content-Type': 'application/x-www-form-urlencoded'      },      body: {        code,        code_verifier,        grant_type: 'authorization_code',        client_id: process.env.TWITTER_CLIENT_ID,        redirect_uri: 'https://localhost/auth/twitter/callback'      }    }
  // Get the token  const token = response.body  console.log(token)})
You should receive a token like this:

The user is now logged in.
Handling the access token
We’re going to store the access token in local storage again in the next lesson.
Welcome! Unfortunately, you don’t have access to this lesson. To get access, please purchase the course or enroll in Magical Dev School.
Unlock this lesson