There are three steps to ensure that a user is logged in with the identity provider:
- Grab the access token from local storage
- Verify the access token
- Update the access token (if necessary)
Step 1: Grab the access token
We can grab the access token by searching the github key in localStorage.
If you used localStore, you can use the get method.
const token = localStore.get('github')If we can find the access token, we proceed on with step 2.
If we cannot find the access token, we stop operations here — we don’t have to do anything else since the page loads with the user with a “Logged Out” status.
Step 2: Verify the access token
There are two steps for verifying the access token:
- Simple Validation
- Robust Validation
Simple Validation
You can perform a simple validation with the following steps:
- Send the token a specific endpoint on the backend
- Search your database for the token
- If the token exist, allow the user to log in
This simple validation works if you only use the identity provider to login to your app.
If you want to use the access token to access the API, you will need to perform a robust validation.
Since we don’t have a database for this app, we cannot use a simple validation. We need to use the robust validation.
Robust Validation
You can perform a robust validation by sending the access token to the API. Typically we use an endpoint that returns the authenticated user.
For Github, it’s the /user request.
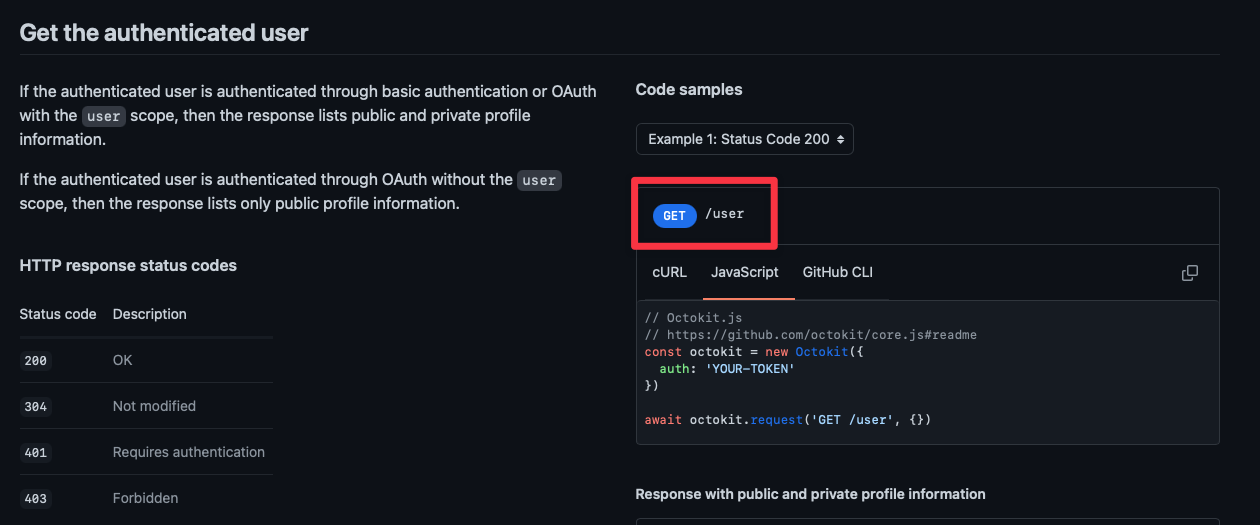
Now, most APIs need you to send your requests through a server. Github doesn’t require this, but Twitter, Facebook and Google needs it. So we will send the request through a server to keep things consistent.
We will:
- Send a request to
/auth/github/verify - Grab the access token in the endpoint and send a request to Github’s
/userendpoint - If the API returns a successful response, we know the access token works
- If the API returns an unsuccessful response, we know the access token doesn’t work
Here’s how to execute the steps:
We’ll start by sending a request to /auth/github/verify.
- We’ll send a
POSTrequest since since authentication is typically uses aPOSTrequest. - We’ll also put the
access_tokenin the body so we can get it in the backend.
Here’s what the request looks like:
import { zlFetch, localStore } from './lib.js'
const token = localStore.get('github')
if (token) {  // Sends request to server  const response = await zlFetch.post('/auth/github/verify', {    body: { accessToken: token.accessToken },  })}
We’ll grab the access token in the backend:
// In routes/auth.jsrouter.post('/auth/github/verify', async (req, res) => { const { accessToken } = req.body})We’ll send the access token to Github.
When we do this, we need to listen to both success and error messages. You’ll see why later.
zlFetch makes this easy by returning both success and error responses. You can activate this feature by setting returnError to true.
router.post('/auth/github/verify', async (req, res) => { // ... const { response, error } = await zlFetch('https://api.github.com/user', { auth: accessToken, returnError: true, })})If the response is successful, we know the access token is valid, so we will send a success message to the frontend.
If the response is unsuccessful, we know the access token is invalid, so we will send an error message to the frontend.
router.post('/auth/github/verify', async (req, res) => { // ... if (response) { res.json({ status: 'success' }) } else { res.status(error.status).json({ message: error.body.message }) }})On the frontend, if we receive a success message, we know the access token is valid. So we update the login status.
If the receive an error message, we know the access token is invalid. In this case we don’t have to do anything since the login status is already so set to “Logged Out” by default.
if (token) {  // ...  const response = await zlFetch.post(/*...*/)
  if (response) {    const element = document.querySelector(`.status[data-provider="github"]`)    element.textContent = 'Logged In'  }}
Step 4: Update the access token
Github access token doesn’t expire so we don’t have to update the access token.
We’re done with Github at this point. Let’s make a quick refactor before moving into Twitter. We’ll do the refactor in the next lesson.
Welcome! Unfortunately, you don’t have access to this lesson. To get access, please purchase the course or enroll in Magical Dev School.
Unlock this lesson