We will send the token to the frontend through query strings like what we’ve done for the rest of the login providers.
But before you do this… you have to become aware that Google only send you the refresh token once!
Press the login with Google button again and check your console. You’ll notice that refresh_token is missing in the values.
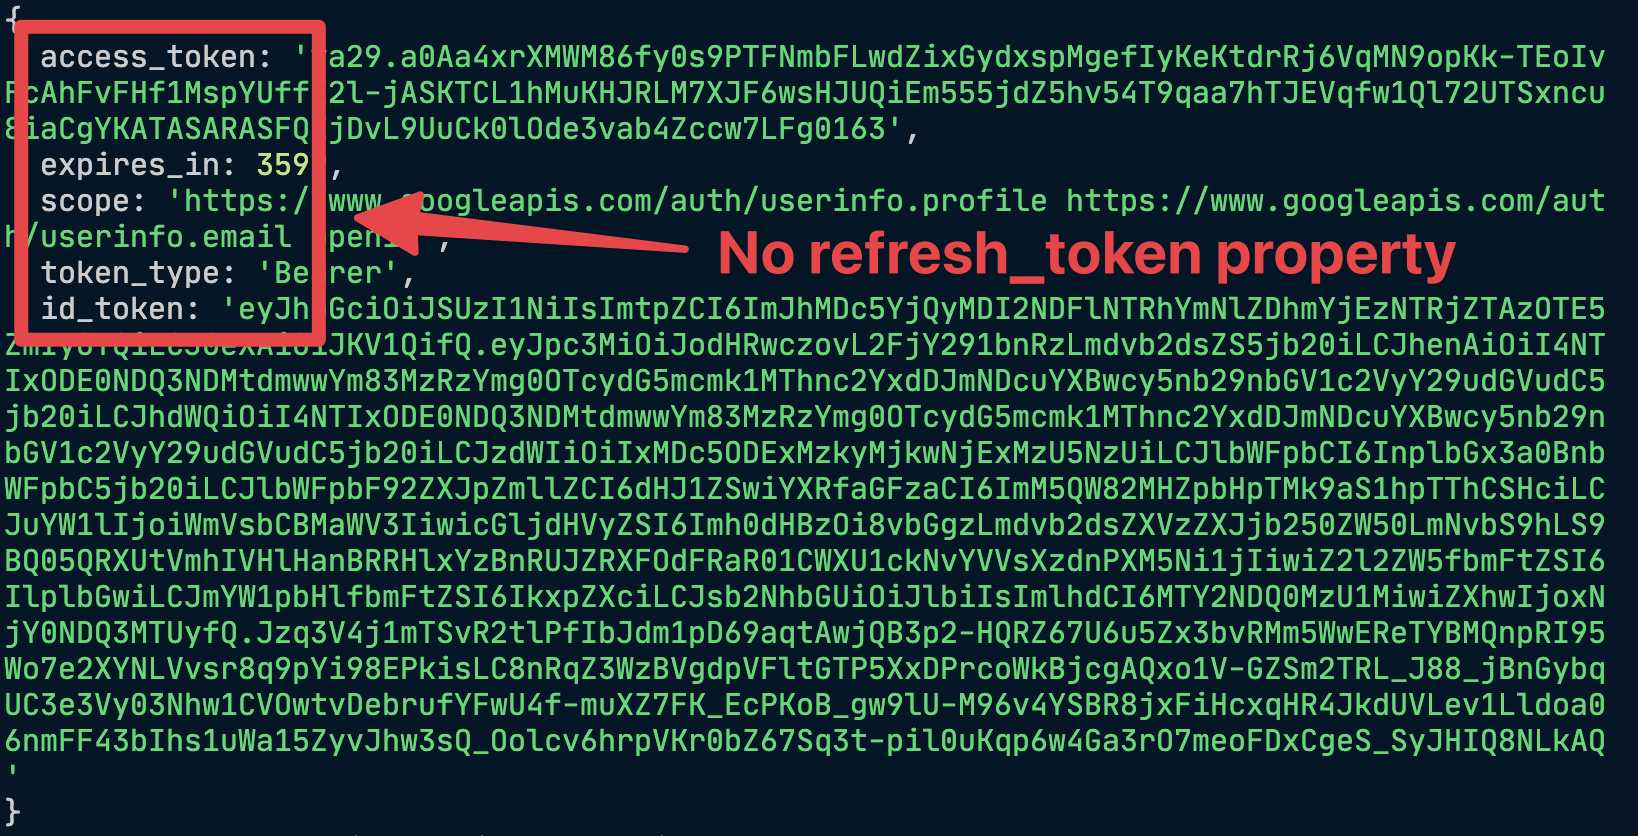
So in order to write code with the refresh token, we need to find a way to get the refresh token to come back.
Getting the refresh token again
I googled around a lot for this — but it looks like the best way to get the refresh token again is to revoke the app from your account and login with Google again.
You can revoke the app from your account through this link.
Scroll down, find your app, click on it, then click on remove access.
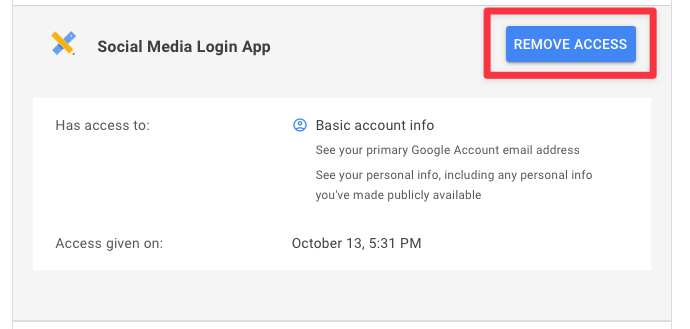
If you login with Google again you will get the refresh_token back value back.
You can also revoke a user’s login through a revoke token API in production. This lets you get the refresh token back too… but it’s highly unlikely for you to need this at this point!
Ok now we can proceed with the rest of the steps.
Sending token to frontend via the query string
Let’s take a look at the token google sends back to us and see what values we need to send to our frontend.
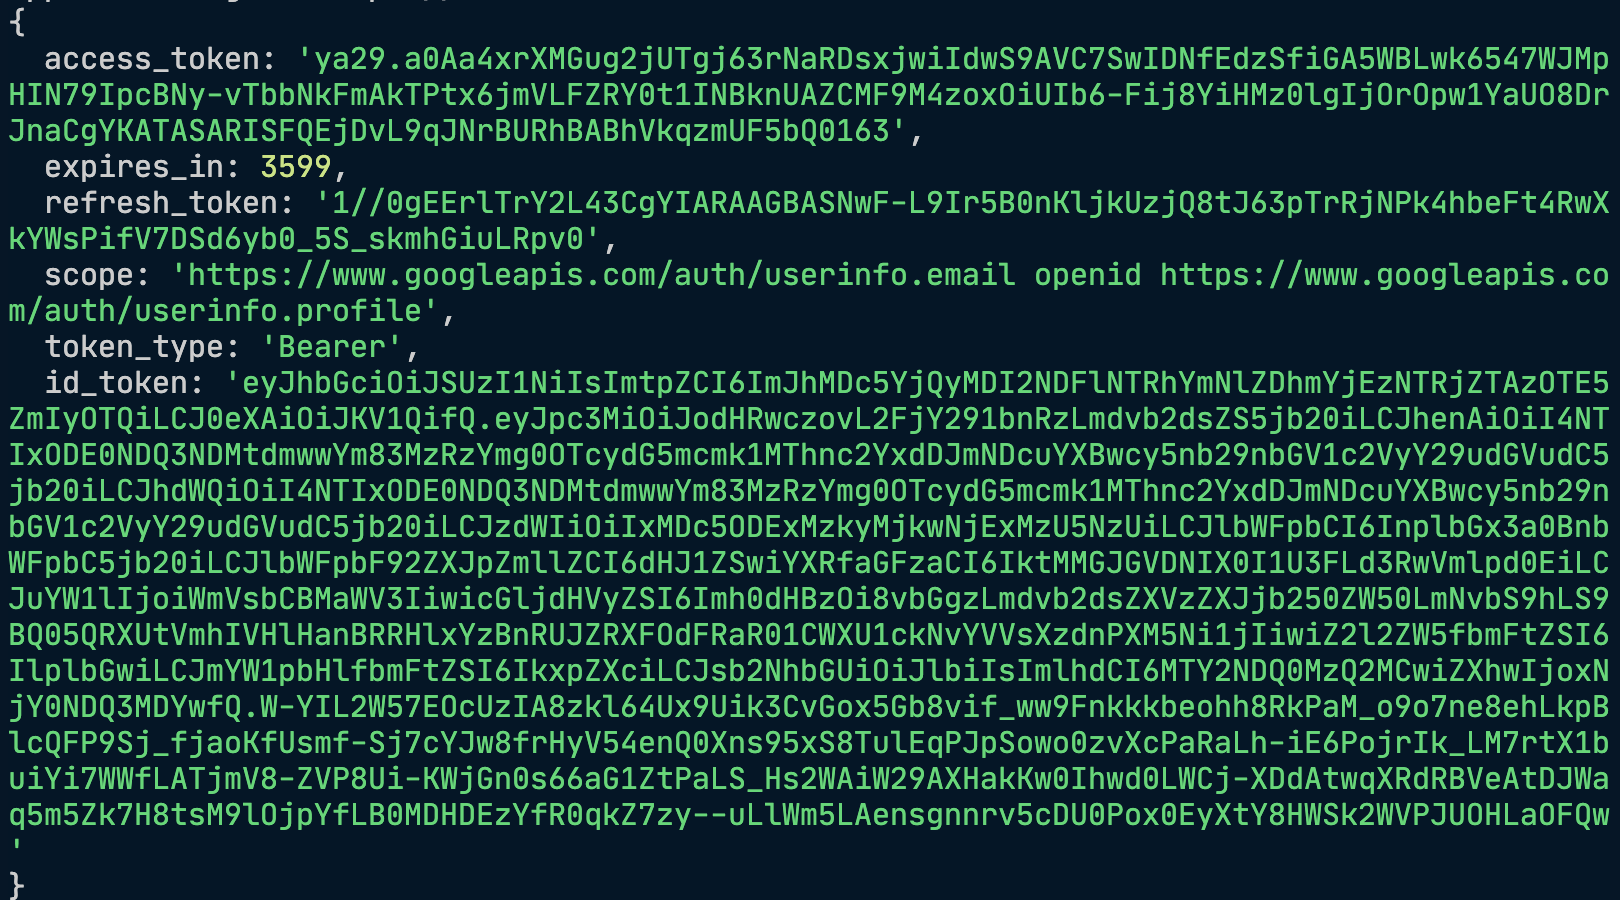
In our use case we only need to send the same few things as we did in the previous identity providers:
- Access token
- Refresh token
- When the access token expires
We can ignore the id_token because we’re not going to use it for this app. I’ll talk more about the id_token later in the verification process.
Here’s the code to send everything we need over to our frontend:
router.get('/auth/google/callback', async (req, res) => {  // ...  const token = response.body  const expiresAt = token.expires_in * 1000 + Date.now()
  const params = {    authStatus: 'success',    provider: 'google',    expiresAt,    access_token: token.access_token,    refresh_token: token.refresh_token,  }
  const query = new URLSearchParams(params).toString()  res.redirect('/' + '?' + query)})
Getting and saving the token
The code we have written so far already gets and saves the token values. So there’s nothing we have to do here!
If you look at your local storage, you should be able to see the access token from google.
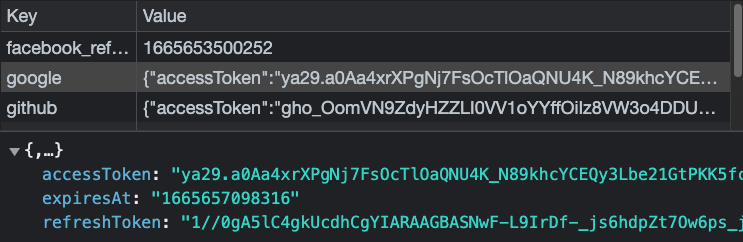
The login status for Google will also be automatically set to “Logged in” with the code we have wrote. This is the beauty of well written code — it can handle many use cases without requiring a ton of extra work!
Let’s move on.
Welcome! Unfortunately, you don’t have access to this lesson. To get access, please purchase the course or enroll in Magical Dev School.
Unlock this lesson