Adam Wathan has (very cleverly) built Tailwind with CSS Cascade Layers, making it extremely powerful for organizing styles by priority.
This is the default order:
@layer theme, base, components, utilities;@import 'tailwindcss/theme.css' layer(theme);@import 'tailwindcss/utilities.css' layer(utilities);The core of Tailwind is its utilities. This means you have two choices:
- The default way
- The unorthodox way
The default way
The default choice is to follow the standard recommendation: place components first, and Tailwind utilities last.
So, if you’re building components, you need to manually wrap your components with a @layer directive. Then, override your component styles with Tailwind, putting Tailwind as the “most important layer”.
@layer components { .card { border: 2px solid black; padding: 1rlh; }}<div class="card border-blue-500">...</div>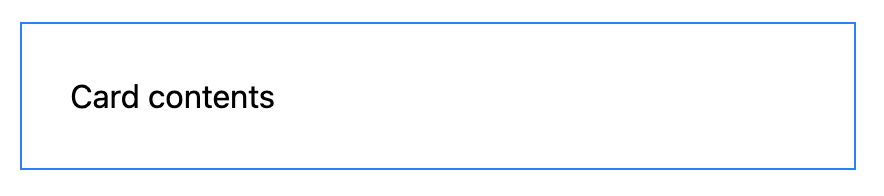
But like I said, this is tedious. I prefer the unorthodox way.
The unorthodox way
The unorthodox way is to write your styles in an unnamed layer — or any layer after utilities, really — so your CSS naturally overrides Tailwind utilities.
Of these two, I prefer the unnamed layer option:
/* Define the layers as usual */@layer theme, base, components, utilities;
/* Write your CSS normally here */.component {  /* ... */}
This allows me to do stuff like:
- Writing less code (by omitting unnecessary layer declarations)
- Write complex stuff that’s hard or impossible to do in Tailwind (like theming and animations) in CSS — and not worry about Tailwind overriding them
Being trained in old-school CSS, I’m also very good with specificity management techniques like ITCSS so I’m not worried about specificity wars.
The simple ITCSS tip is:
- Use 1 class whenever possible
- Nest classes only if you want to ensure that single-class selectors don’t override them
Pretty simple, really.
Now, if you follow my reasoning so far, you would notice that my Tailwind utilities have a weaker specificity than the styles written in my CSS:
.card { border: 2px solid black; padding: 1rlh;}<div class="card border-blue-500">...</div>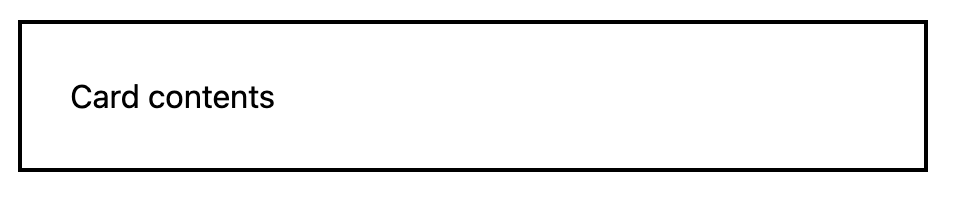
This is intended — I want CSS to override Tailwind. Remember the Simple Unorthodox System?
- Write Tailwind
- Shift things into CSS when Tailwind gets frustrating
In doing this, I allow myself to use the Simple Unorthodox System. Then, if I need to override a value in the HTML with Tailwind, I just !important the utility to give it the strength it needs.
<!-- !important the border-color utility --><div class="card !border-blue-500">...</div>This sounds plain wrong
Well…
- It’s unorthodox, so it’s gonna sound wrong
- Remember there are no best practices? Feel free to experiment with this and see how it works for you.
- The
!importantkeyword has traditionally been used to override classes so we’re still using it for what it’s meant to do.
Plus, we’re also leveraging the !important feature in CSS Layers to make the Tailwind utility more important than any !important in the unnamed layer — it falls within the principles of what !important is supposed to do.
So this unorthodox way is a perfectly valid way to use the powers of CSS Layers and Tailwind utilities.
Besides, the !important is so explicit (and used so little) that it makes sense for one-off quick-and-dirty adjustments without creating a brand new selector.
Welcome! Unfortunately, you don’t have access to this lesson. To get access, please purchase the course or enroll in Magical Dev School.
Unlock this lesson