Essential CSS
JavaScript Roadmap
Learn JavaScript
Mastering Web Typography
Practical Astro
Understanding Async JS
Unorthodox Tailwind
API Masterclass
Build and Deploy
The Beginner Freelancer
Real World Node
Profile Billing Logout
Understanding Async JS
Lesson Plan
  1. Introduction
    1. What is Asynchronous JS?
    2. Callbacks are not automatically asynchronous
    3. What is an API?
    4. Evolution of HTTP APIs
    5. Ajax vs Asynchronous JavaScript
  2. Fundamental Concepts
    1. How to fetch resources
    2. Using XHR
    3. Using the Fetch API
    4. Using libraries
    5. Core JavaScript concepts
    6. Understanding Promises
    7. Understanding Async Functions
    8. Understanding the Event Loop
    9. Understanding JSON
    10. Async JS Best Practices
    11. Using Optimistic UI
  3. Understanding Rest API
    1. Diving into Rest APIs
    2. The Rest Architecture
    3. The Rest Structure
    4. Anatomy of a Request
    5. What's an endpoint
    6. Request methods
    7. Understanding request headers
    8. Understanding the request body
    9. Authentication
    10. Basic Authentication
    11. Bearer Authentication
    12. Authenticating with API keys and API Secrets
    13. Cross Origin Resource Sharing
    14. Anatomy of a response
    15. HTTP Statuses
    16. Response headers
    17. The response body
    18. Handling Errors
    19. Reading API documentations
    20. Understanding Curl
  4. Node Basics
    1. Why we are using Node
    2. Command Line Basics
    3. Installing Node
    4. Managing dependencies
    5. Using ES Modules in Node
    6. Using Node
    7. Restarting the server automatically
    8. Sending requests via Node
    9. Protecting API keys and secrets
  5. Building a server
    1. What's a server
    2. Building a simple server with Express
    3. Two kinds of servers
    4. API Server architecture
    5. Handling routes
    6. Understanding Middlewares
    7. Enabling CORS
    8. Receiving data
    9. Sending responses
    10. Handling errors in Express
    11. Using the server as a proxy
    12. Minimum viable server
  6. Open Authorization
    1. Open Authorisation (OAuth)
    2. Authenticating with Access Tokens
    3. Obtaining Access Tokens
    4. Public and Confidential Clients
    5. Authorisation Code Grant
    6. Understanding scope
    7. Proof Key for Code Exchange (PKCE)
    8. PKCE with Twitter
    9. Dynamic state and `code_verifier`
    10. Saving the access token in cookies
    11. Passing access tokens to the browser
    12. Saving the access token in local storage
    13. Refresh Token Grant
    14. Device Code Grant
    15. Client libraries vs REST
  7. Building Social Media Logins
    1. Introduction
    2. Starter Files
    3. Creating SSL certificates
    4. Login in with Github
    5. Github: Saving the token to local storage
    6. Github: Persisting the login status
    7. Login with Twitter
    8. Twitter: Saving the token to local storage
    9. Twitter: Persisting the login status
    10. Twitter: Refreshing the access token
    11. Login with Facebook
    12. Facebook: Saving the token to localStorage
    13. Facebook: Persisting the login status
    14. Facebook: Refreshing the access token
    15. Login with google
    16. Google: Saving the token to localStorage
    17. Google: Refreshing the access token

Understanding Curl

3m:1s

Client URL (usually written as curl or cURL) is a command line tool that lets you send requests.

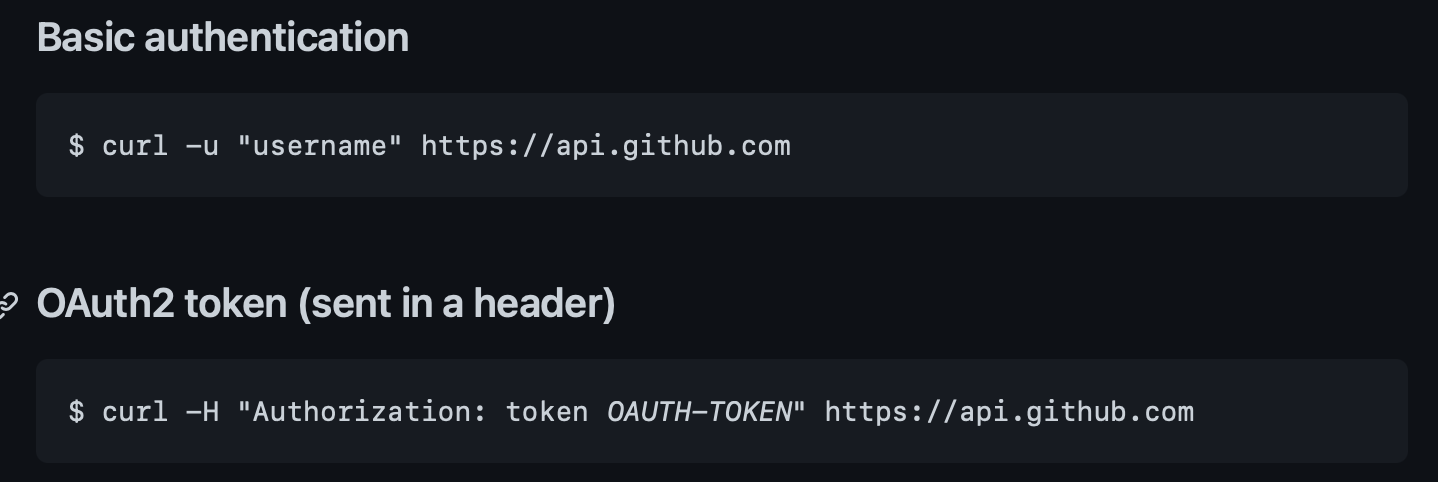
Many API documentations explain their APIs with curl because there are many programming languages — it would be impossible to write docs that use every language in the world.

Here’s an example from Github that uses cURL:
Installing Curl

Mac and Linux computers come with curl installed by default. You can try running curl -v in your command line and see if there is a response.

Terminal window
curl -v

-v means --version. This flag shows the version of the installed program. If curl -v responds with a version, it means curl is already installed on your computer.

If curl is not installed, you will need to download and install it.

Sending GET requests

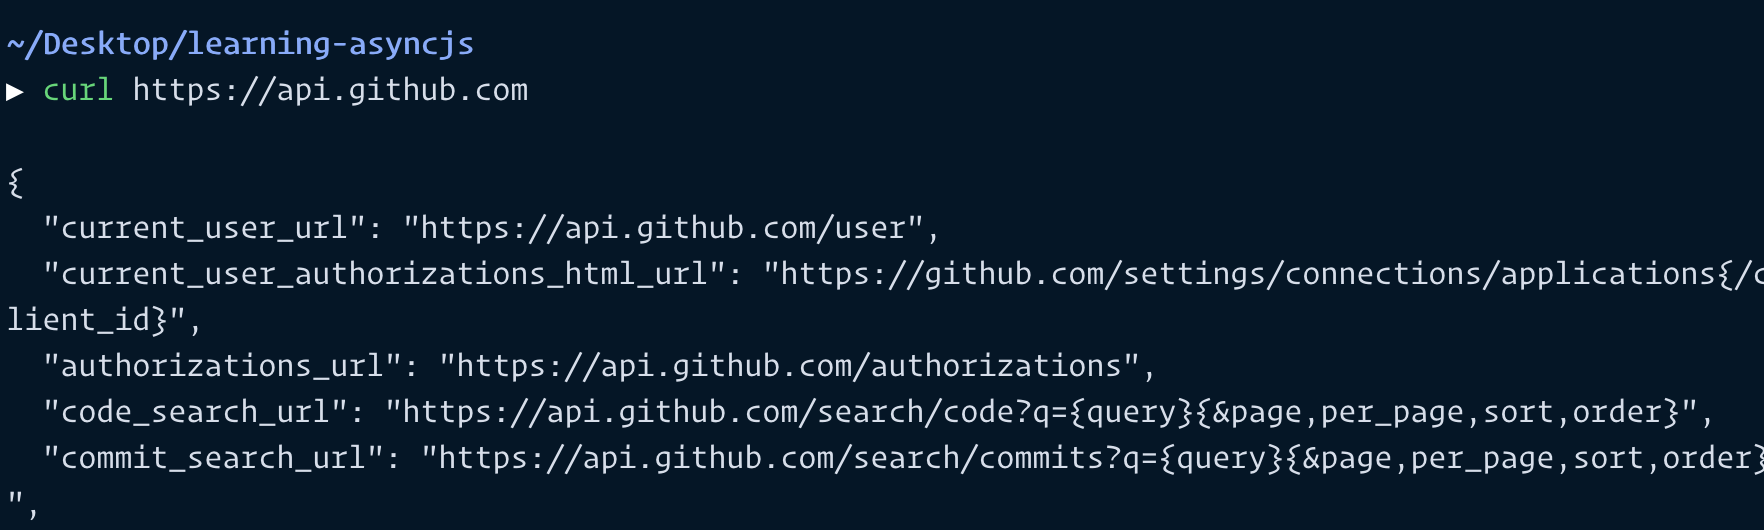
You can send a GET request by typing curl, followed by the endpoint.

Terminal window
# Sends a GET request to https://api.github.com
curl https://api.github.com

If the server returns a response, you will see the body of the response in your command line.
Adding query parameters

? and = are special characters in the command line. If you want to add query parameters, you need to prepend every ? and = with \.

Terminal window
# Set per_page limit to 100
curl https://api.github.com/users/zellwk/repos\?per_page\=100

Using other methods

You can use a -X flag (make sure it’s a capital X) to set the request method.

Terminal window
curl -X POST https://link-to-resource

The flag order doesn’t matter. You can put it before or after the url.

Terminal window
# -X POST can go after the URL
curl https://api.github.com/user/repos -X POST

Setting request headers

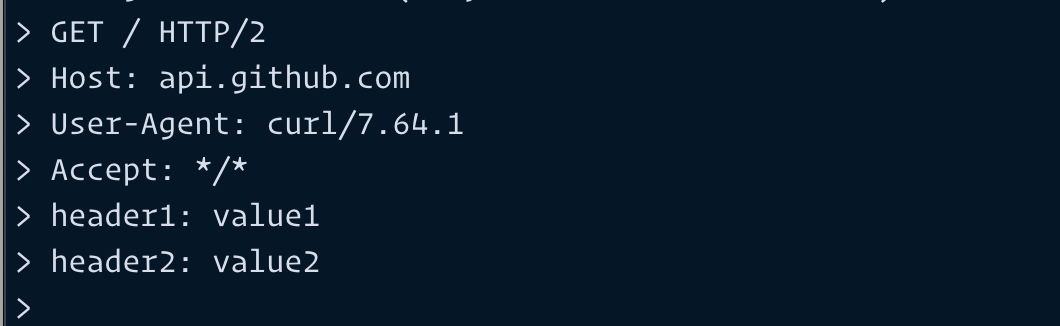
You can set request headers with -H.

Terminal window
curl -H "header1: value1" -H "header2: value2" https://link-to-resource
Viewing headers

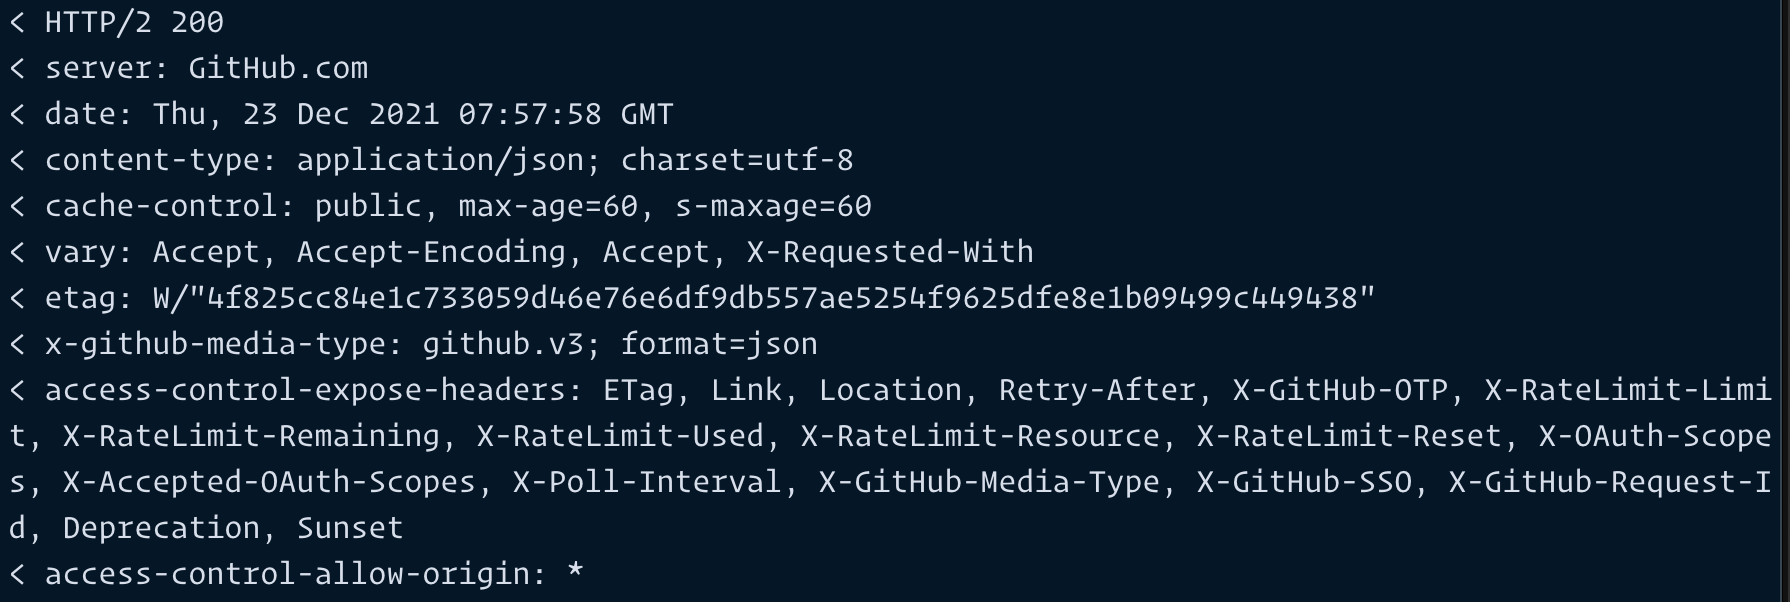
You can use -v to see headers. Request headers are prefixed with > while response headers are prefixed with <.

Terminal window
curl -v -H "header1: value1" -H "header2: value2" https://link-to-resource
Request headers
response-headers

Sending body data

To send body data, you use -d. Curl will send your data as x-www-form-urlencoded.

Terminal window
# Sending 2 pieces of data via curl
curl -X POST https://link-to-resource -d message1='Hello' -d message2='World'

If you need to encode a value, use --data-urlencode instead of -d.

Terminal window
curl -X POST https://link-to-resource --data-urlencode url=https://google.com

Authentication

You can perform Basic Authentication with the -u flag.

Terminal window
curl -X POST -u username:password https://link-to-resource

If you want to Bearer Authentication, you need to set an authorization header.

Line breaks

It’s much easier to read a curl request if you break up lines with \. Make sure there are no spaces after each \ for this to work correctly.

Terminal window
curl -X POST https://link-to-resource \
-d message1='Hello' \
-d message2='World' \
--data-urlencode url=https://google.com

Cheatsheet

Here’s a table to make the commands easier to look up.

Flag Purpose
-X Sets method
-H Set request header
-u Basic authentication
-v Verbose mode (view request headers, response headers, and body)
-d Set body data

More curl flags

The flags I taught you above should be enough for most use cases. If you want to find out more about curl, you can read its documentation.

That’s all you need to know about curl!

We’re done with the Rest API chapter now.

Next, you’re going to learn how to use Node — this is a prerequisite to building a server.