Three types of fields are commonly used to build websites and web applications. We’ll be covering the first two in this lesson. They are:
- Input
- Textarea
- Select
Input
Input fields are the most versatile amongst the three types. They can be used to collect all sorts of information.
If you want to collect text information, you’ll set the input’s type to text.
<label for="username">Username</label><input type="text" name="username" id="username" />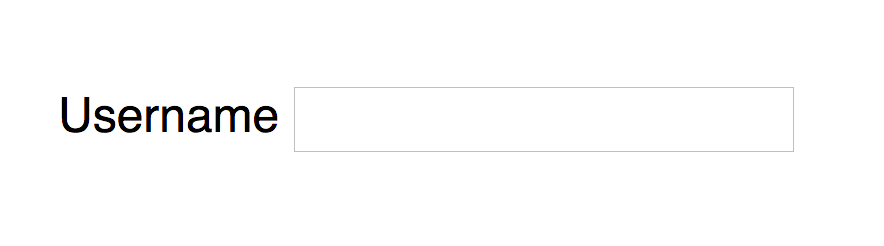
Other types of text-related input types that are well supported across browsers include:
- Number
- Password
- Tel
- Search
- Url
Different types of input gives you different effects. For example, if you set type="password", browsers will automatically hide the text entered by users:
<label for="password">Password </label><input type="password" name="password" id="password" />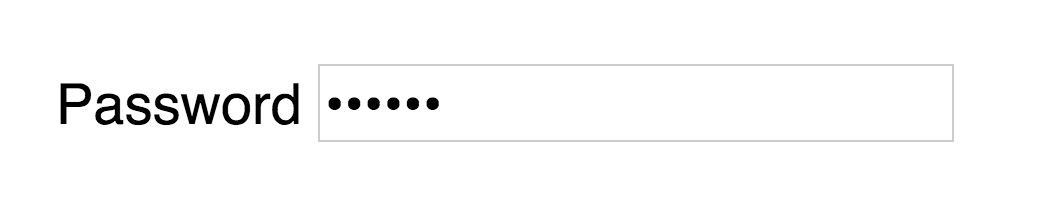
If you set type="tel", browsers will launch a keypad instead of the standard keyboard on most mobile phones:
<label for="phone-number">Phone number: </label><input type="tel" name="phone-number" id="phone-number" />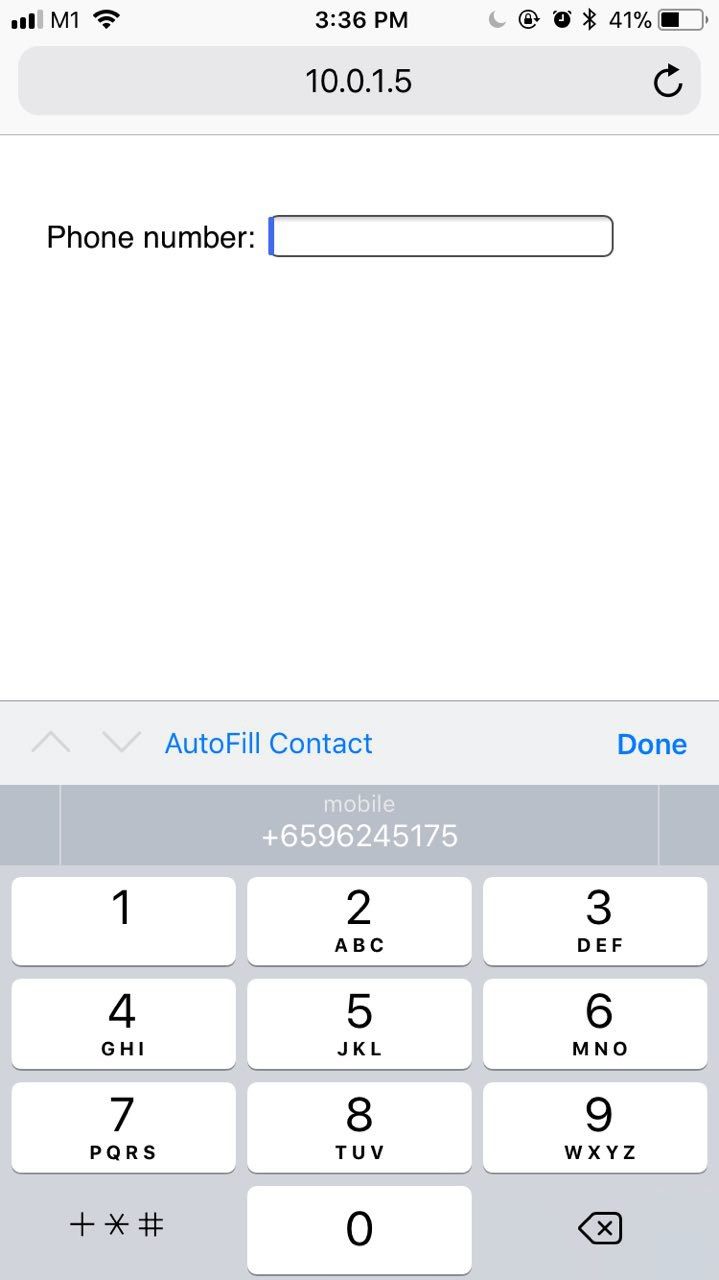
If you set type="email" or type="url", browsers will automatically check if the entered values are valid email or url strings.
<label for="email">Email address: </label><input type="email" name="email" id="email" />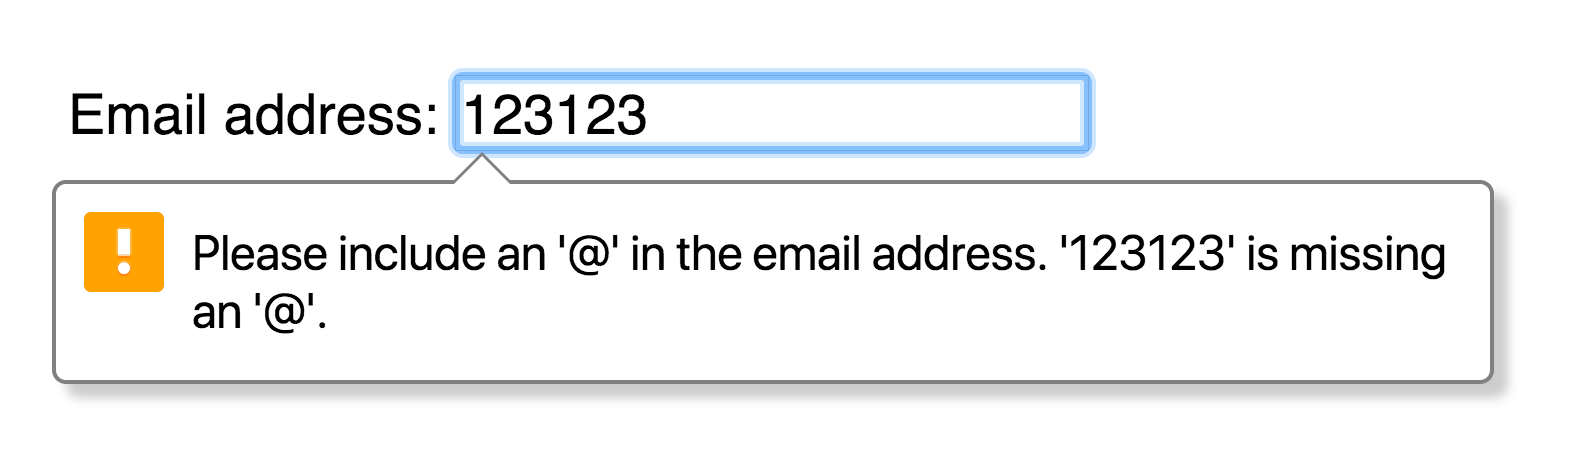
<label for="url">Website: </label> <input id="url" name="url" type="url" />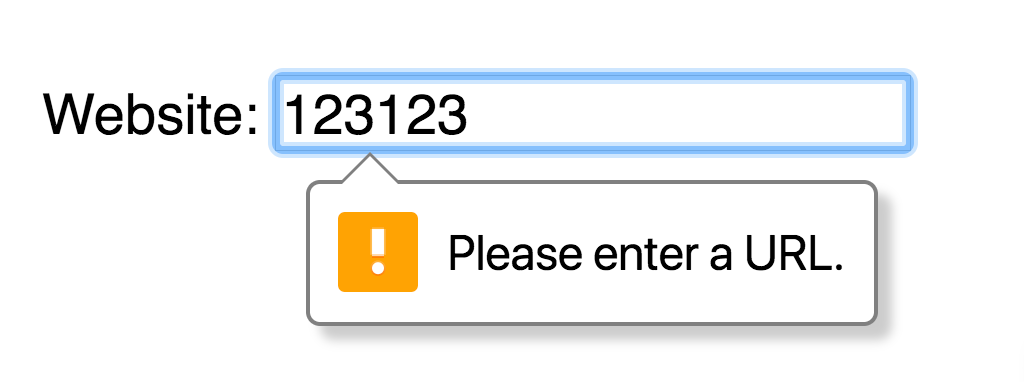
You can safely use most input types to collect textual information. If a browser does not support the type you specified, it will revert to type="text" automatically.
(Note: For a list of all available input types, visit MDN’s input reference)
Getting values from textual input elements
To get the value from an <input>, you can use the value property.
<input type="text" name="text" value="Hello world!" />const input = document.querySelector('input')console.log(input.value) // Hello world!You want to remove unnecessary whitespace from the start and end of the any value you obtain from a text field. To do so, you use the trim method that’s available for all strings.
<input type="text" name="text" value=" Hello world! " />console.log(input.value) // " Hello world! "console.log(input.value.trim()) // "Hello world!"Input events
You can listen to four types of events for input fields:
inputfocusorfocusinblurorfocusoutchange
input fires whenever a user types information into the field.
input.addEventListener('input', e => { console.log(e.target.value)})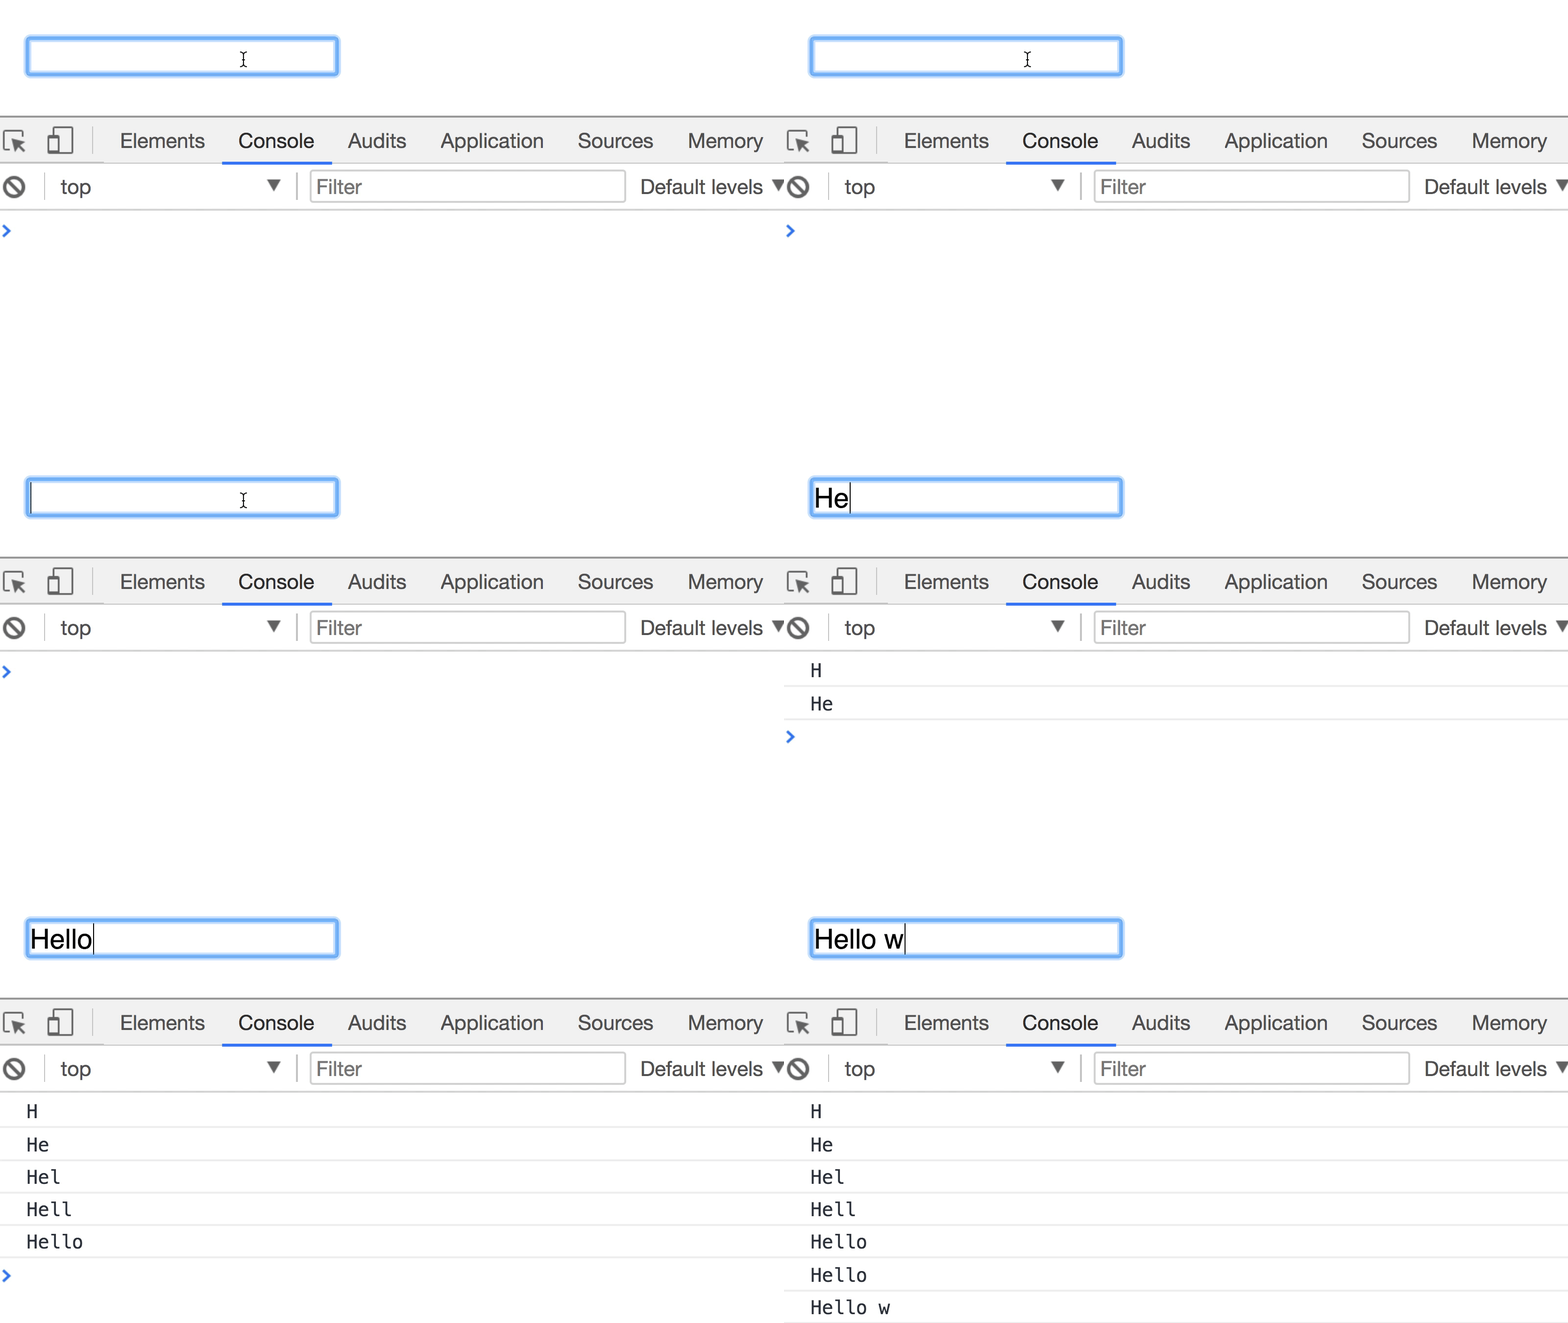
input fires whenever a user types information into the field focus and focusin fires whenever a user activates a field, either by tabbing into it or by clicking on it. The difference between these two events is: focusin bubbles but focus doesn’t.
input.addEventListener('focus', e => { console.log(`Focus on! Value is: ${e.target.value}`)})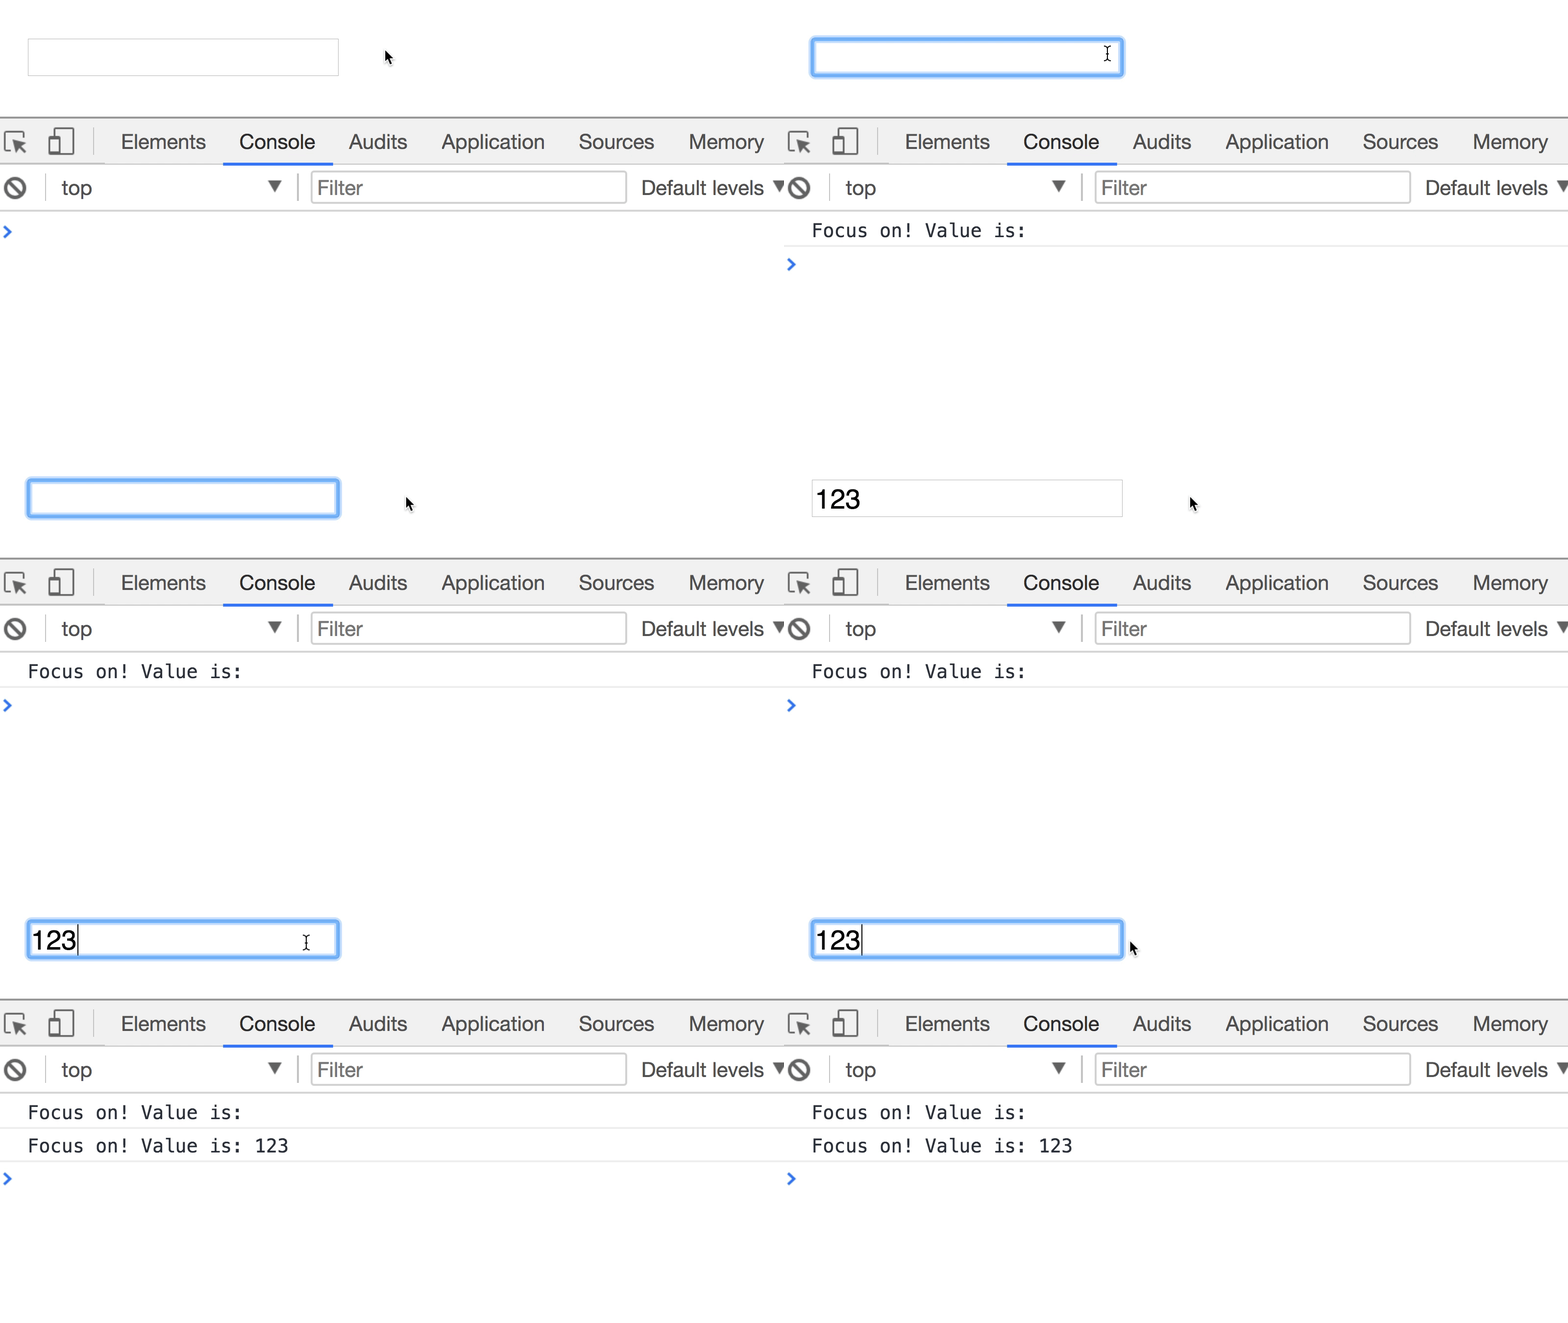
focus fires whenever a user activates a field focusout and blur activate when a field loses focus. The difference between these two events is: focusout bubbles but blur doesn’t.
input.addEventListener('blur', e => { console.log(`Focus off! Value is: ${e.target.value}`)})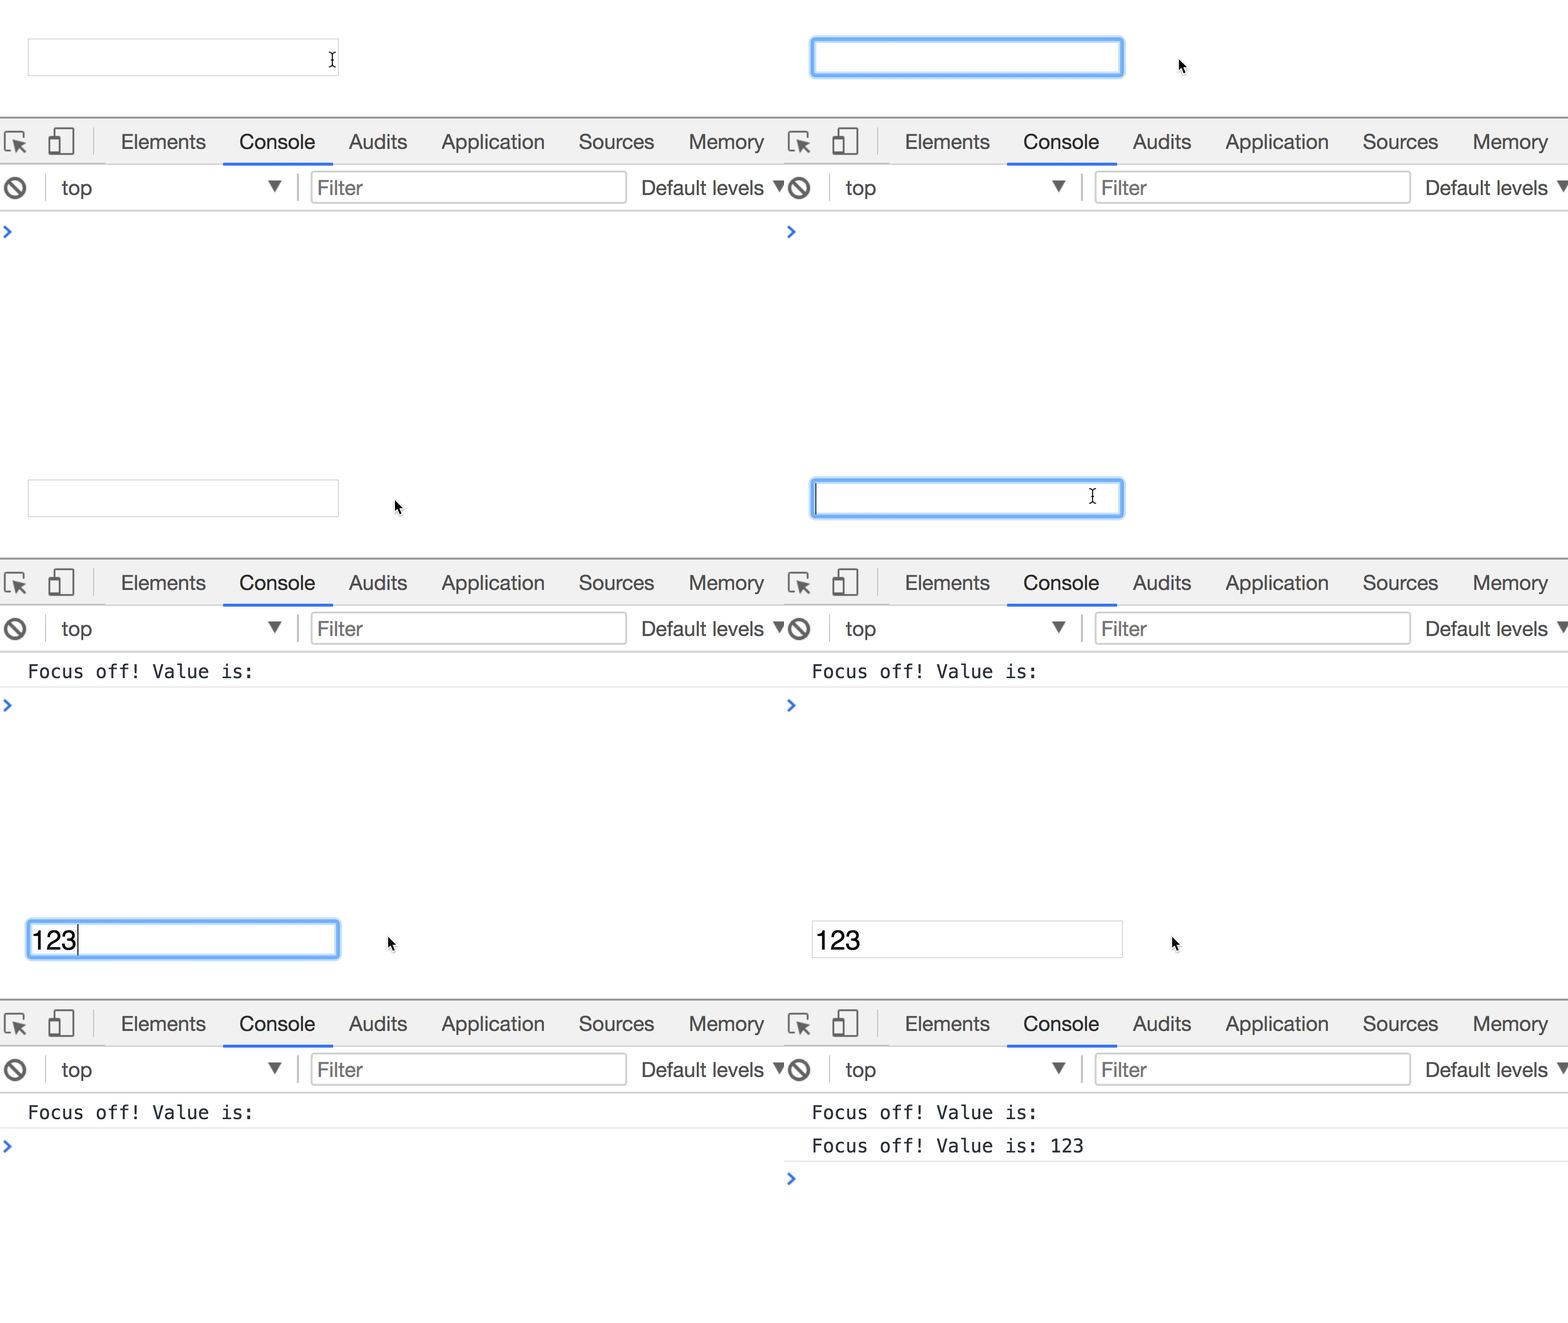
blur fires whenever a user leaves a field change fires whenever a value is committed by a user. They’re often used for other types of form fields, like checkboxes, radio buttons and select elements. For a text field, change acts the same way as focusout or blur.
Checkboxes
You use checkboxes if you want to let users toggle between on and off states. To create a checkbox, you use an input element with type set to checkbox.
<input type="checkbox" />
Checkboxes require labels, or they wouldn’t make sense.
<input type="checkbox" name="checkbox" id="checkbox" /><label for="checkbox">Label for the checkbox</label>
Checkboxes are often used in tandem with other checkboxes. When you use them this way, make sure you use different name attributes for each checkbox.
<form action="#" method="post">  <p>Do you like these fruits?</p>
  <div class="checkbox">    <input type="checkbox" name="apple" id="apple" />    <label for="apple">🍎 Apples</label>  </div>  <div class="checkbox">    <input type="checkbox" name="grape" id="grape" />    <label for="grape">🍇 Grapes</label>  </div>  <div class="checkbox">    <input type="checkbox" name="lemon" id="lemon" />    <label for="lemon">🍋 Lemons</label>  </div></form>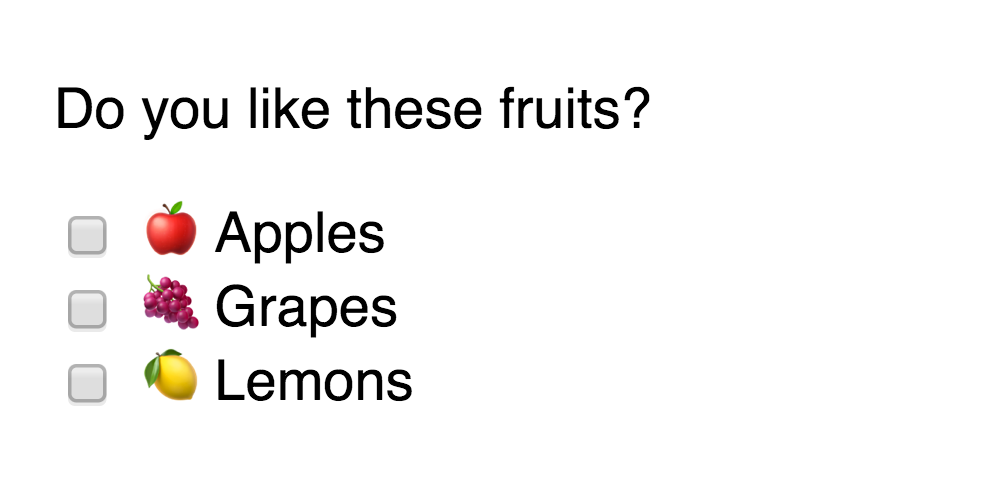
Getting values from checkboxes
You can get the value of a checkbox with the value property.
<input type="checkbox" name="checkbox" id="checkbox" value="Have I been checked?"/><label for="checkbox">Label for the checkbox</label>const checkbox = document.querySelector('input')console.log(checkbox.value) // Have I been checked?If value is not set, value will default to on.
<input type="checkbox" name="checkbox" id="checkbox" /><label for="checkbox">Label for the checkbox</label>const checkbox = document.querySelector('input')console.log(checkbox.value) // onSelecting checked checkboxes
Checkboxes that are selected will have the checked attribute. You can select them through querySelector with the :checked pseudo class, through the checked property, or through the hasAttribute method.
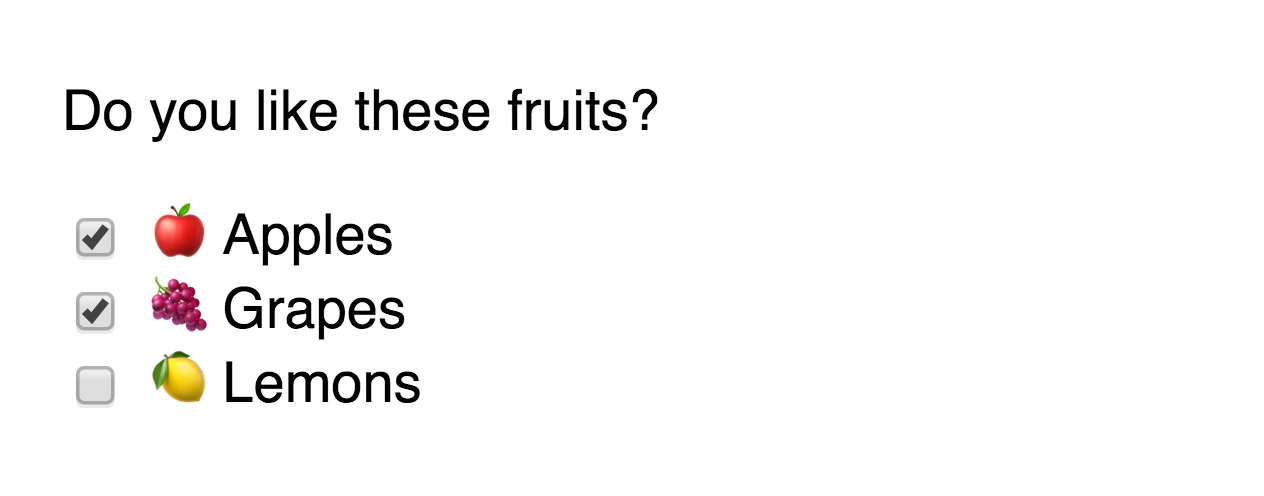
// Selecting checked checkboxes through querySelectorconst checkedCheckboxes = document.querySelectorAll('input:checked')
console.log(checkedCheckboxes) // NodeList(2) [input#apple, input#grape]
// Selecting checked checkboxes through the checked propertyconst checkboxes = Array.from(document.querySelectorAll('input'))const checkedCheckboxes = checkboxes.filter(checkbox => checkbox.checked)
console.log(checkedCheckboxes) // [input#apple, input#grape]// Selecting checked checkboxes through hasAttributeconst checkboxes = Array.from(document.querySelectorAll('input'))const checkedCheckboxes = checkboxes.filter(checkbox => checkbox.hasAttribute('checked'),)
console.log(checkedCheckboxes) // [input#apple, input#grape]Checkbox events
You can listen to one event on checkboxes—change. change fires whenever a checkbox gets checked or unchecked. Note: you can use an event delegation pattern since change bubbles.
form.addEventListener('change', e => { const checkbox = e.target console.log(checkbox.checked)})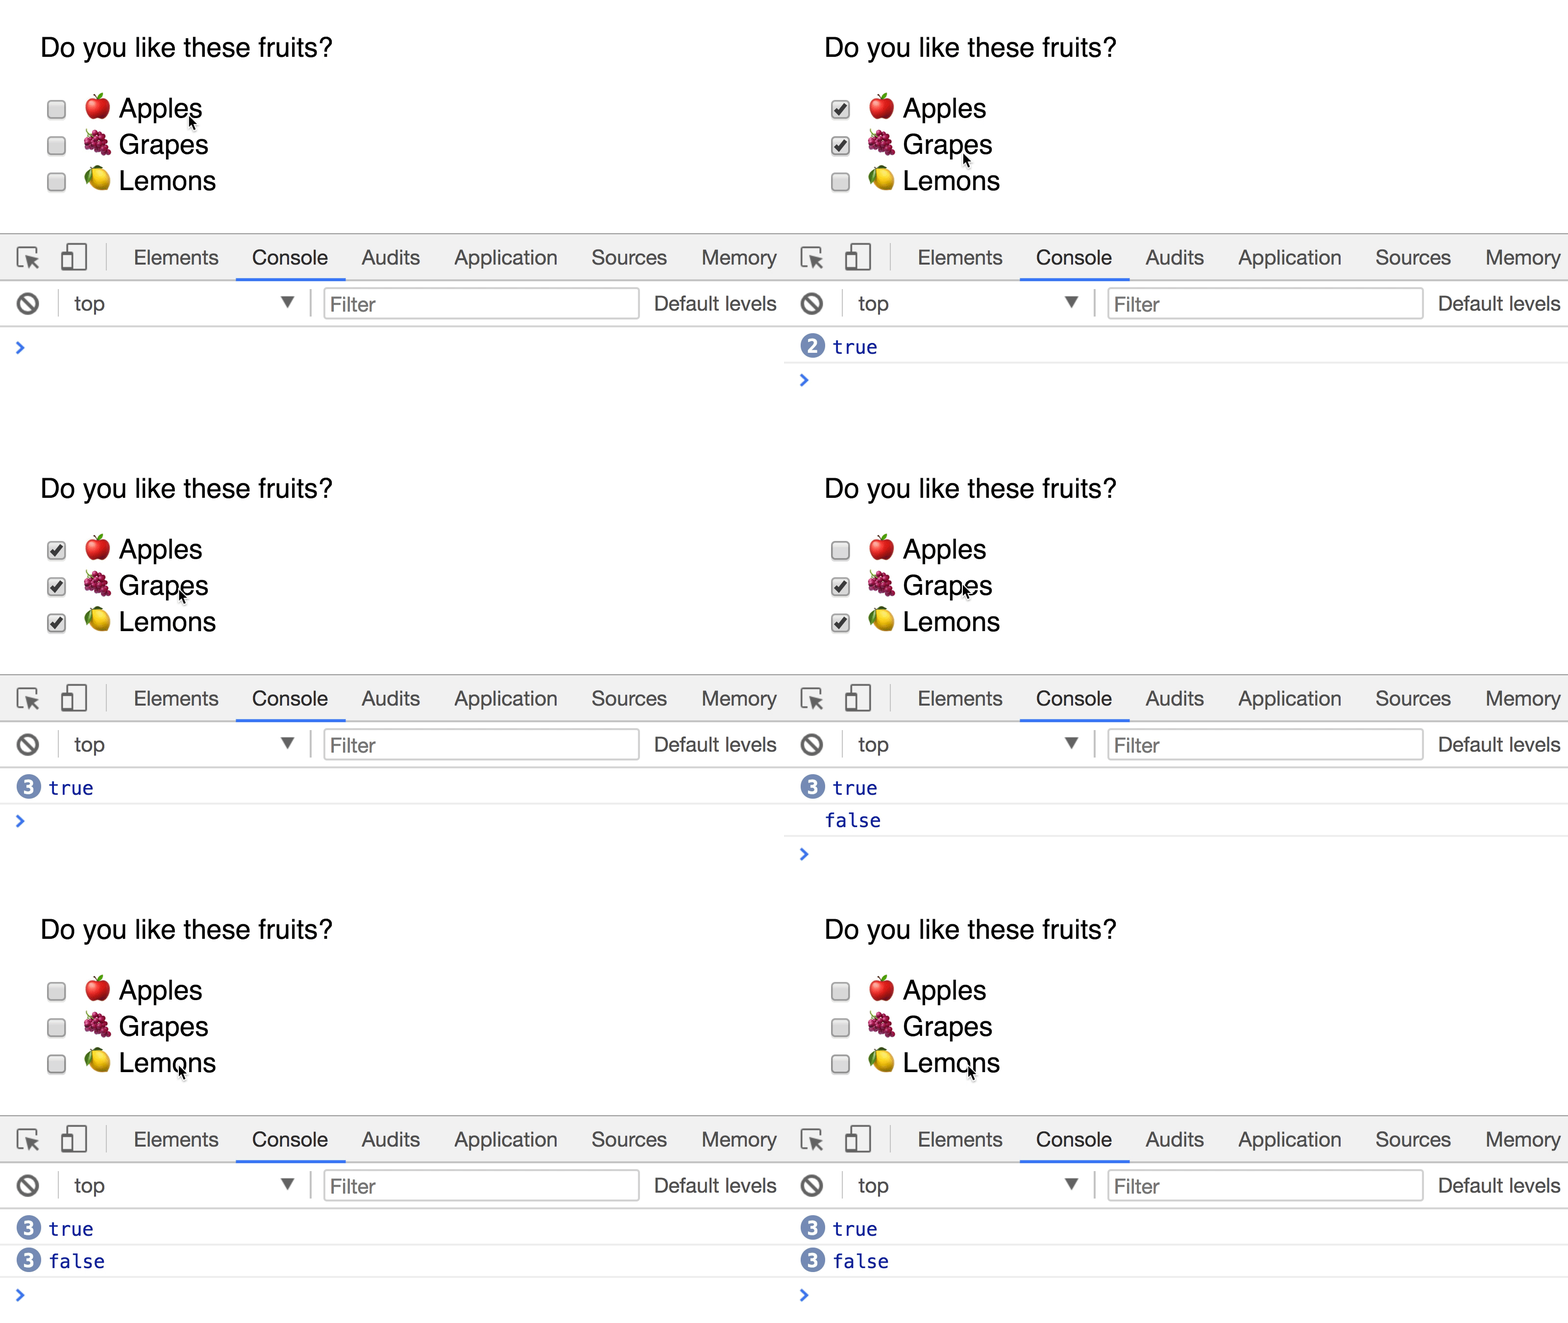
change fires when a checkbox gets checked or unchecked Radio buttons
Radio buttons are used when you want a user to select one option from many options. To create a radio button, you use an <input> element with type="radio".
<input type="radio" />
Like checkboxes, radio buttons require labels or they wouldn’t make sense.
<input type="radio" name="radio" id="radio" /><label for="radio">Label for the radio</label>
Radio buttons are always used together with other radio buttons. A single radio button doesn’t make sense. When you use multiple radio buttons, make sure all radio buttons have the same name property.
You will need a value attribute for every radio button if you want to pass the selected radio value to the backend.
<form action="#" method="post">  <p>Select your favorite fruit</p>
  <div class="radio">    <input type="radio" name="fav-fruit" id="apple" value="apple" />    <label for="apple">🍎 Apple</label>  </div>  <div class="radio">    <input type="radio" name="fav-fruit" id="grape" value="grape" />    <label for="grape">🍇 Grape</label>  </div>  <div class="radio">    <input type="radio" name="fav-fruit" id="lemon" value="lemon" />    <label for="lemon">🍋 Lemon</label>  </div>  <div class="radio">    <input type="radio" name="fav-fruit" id="none" value="none" />    <label for="none">😝 None of the above</label>  </div></form>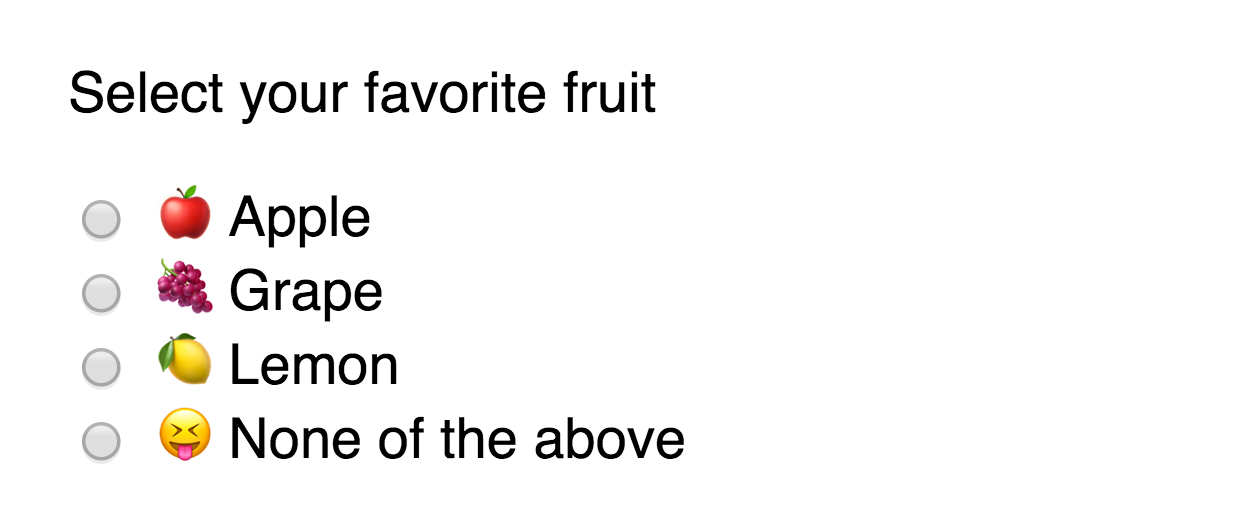
Getting values from radio buttons
You can get the value of a radio button with the value property. Note: You can use an event delegation pattern since change bubbles.
<input type="radio" name="radio" id="radio" value="The best (only) radio channel in the world"/><label for="radio">Label for the radio</label>const radio = document.querySelector('input')console.log(radio.value) // The best (only) radio channel in the worldThe selected radio
The selected radio button will have the checked attribute. You can select it through querySelector with the :checked pseudo class, through the checked property or through the hasAttribute method.
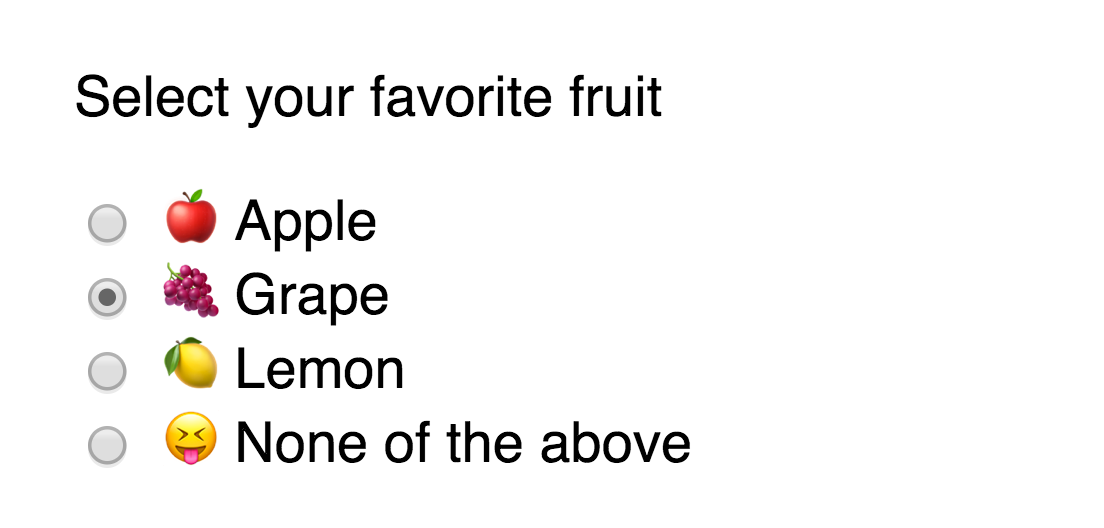
// Selecting checked radio through querySelectorconst checkedRadios = document.querySelector('input:checked')console.log(checkedRadios) // <input id="grape" name="grape" ... >// Selecting checked radios through the checked propertyconst radios = Array.from(document.querySelectorAll('input'))const radio = radios.find(radio => radio.checked)
console.log(radio) // <input id="grape" name="grape" ... >// Selecting checked radios through `hasAttribute`const radios = Array.from(document.querySelectorAll('input'))const radio = radios.find(radio => radio.hasAttribute('checked'))
console.log(radio) // <input id="grape" name="grape" ... >Radio events
You can listen to one event on radio buttons—change. change fires whenever a radio button gets selected.
const radios = document.querySelectorAll('input')
radios.addEventListener('change', e => {  if (e.target.checked) {    console.log(e.target.value)  }})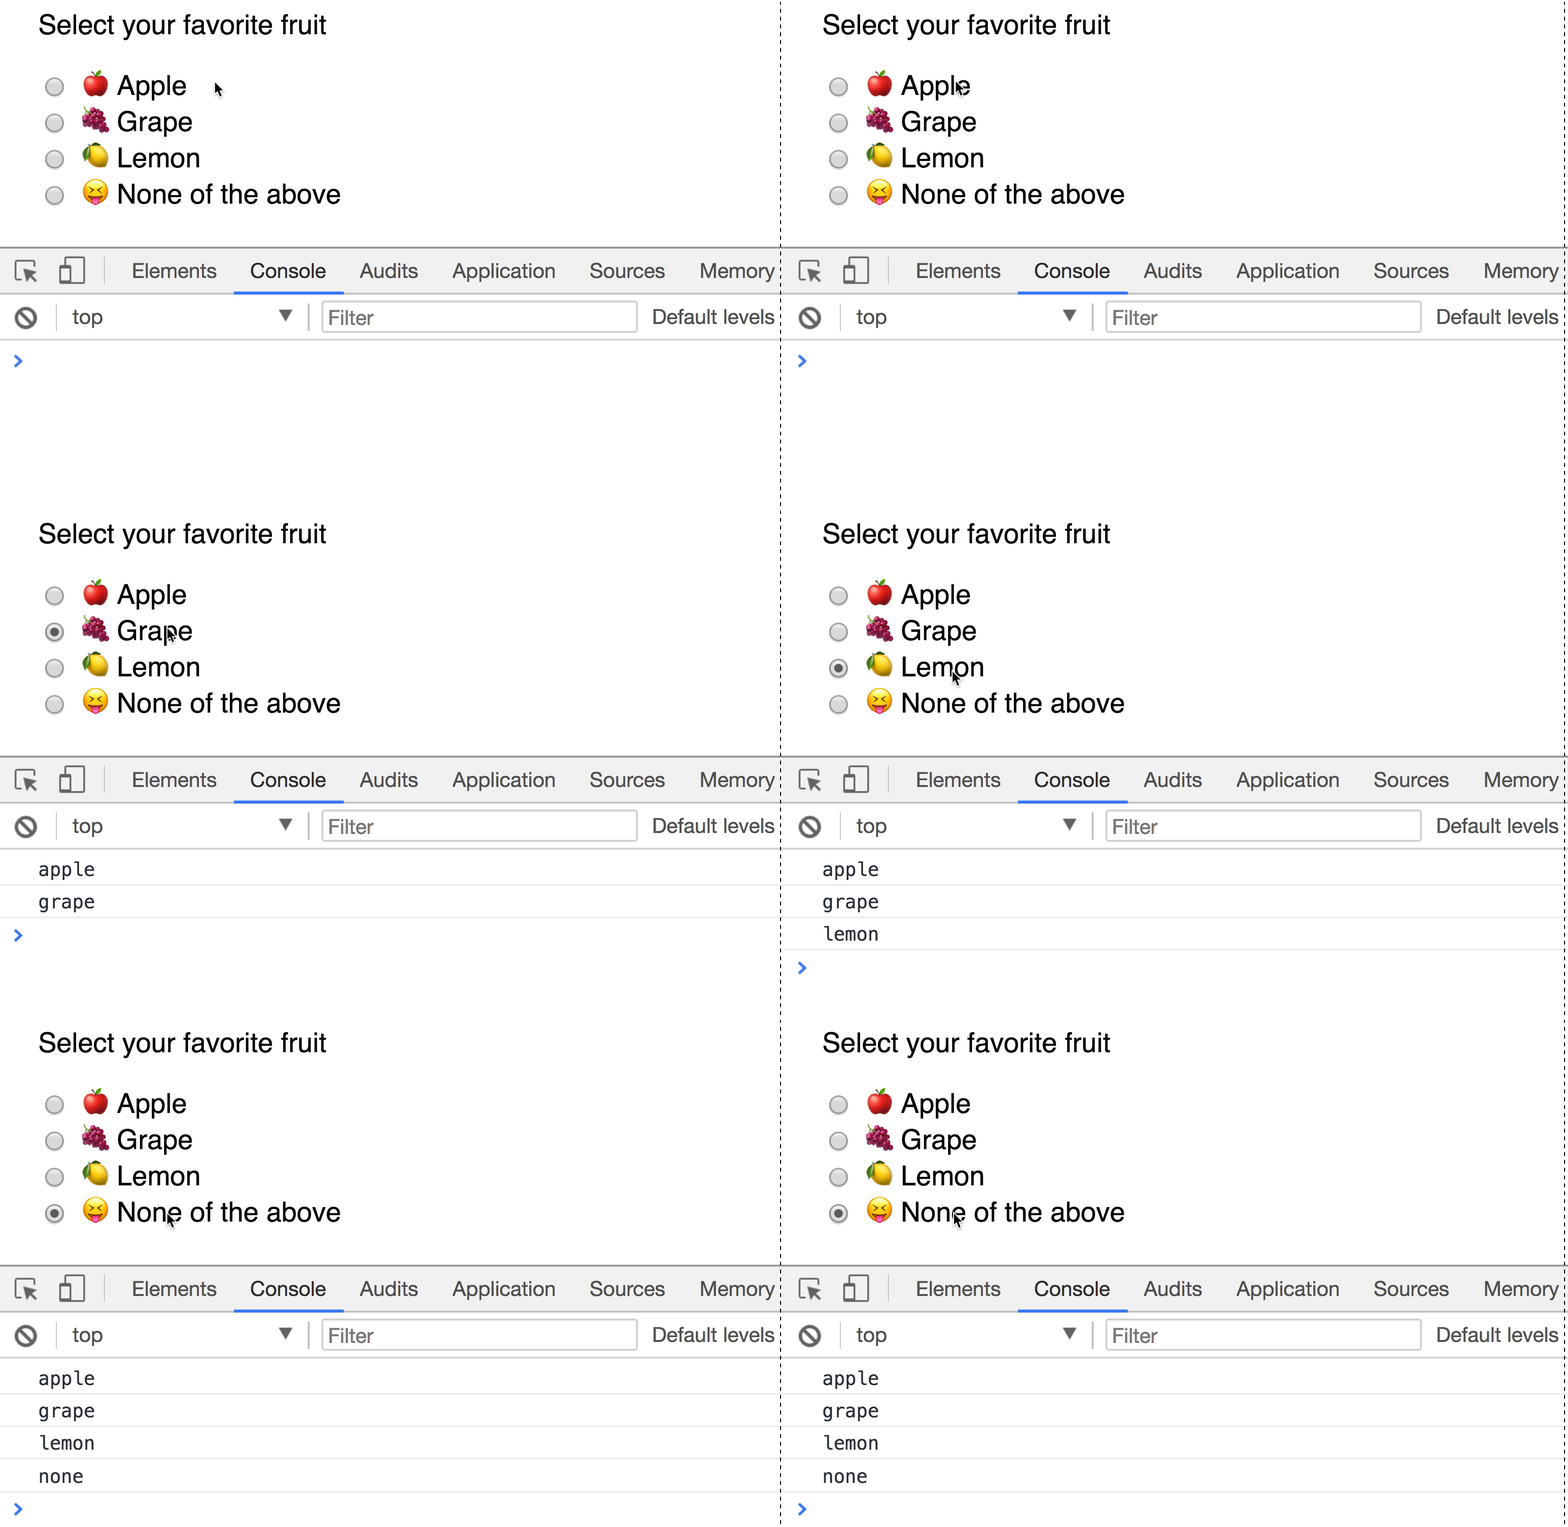
change fires when a radio button gets selected Textarea
Textareas are used to gather large amounts of textual information. They look like this:
<label for="long-text">Enter some text: </label><textarea name="long-text" id="long-text"></textarea>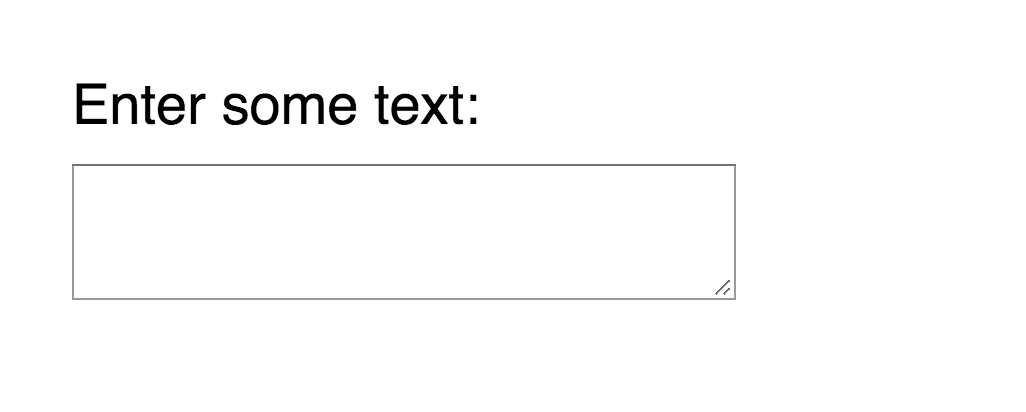
Getting values from textarea
You can get the value of a <textarea> through the value property. When you do so, make sure you run trim on the value.
<label for="long-text">Enter some text: </label><textarea name="long-text" id="long-text" value=" something goes here "></textarea>const textarea = document.querySelector('textarea')console.log(textarea.value.trim()) // something goes hereTextarea events
You can listen to the event as text-based input elements. They are
inputfocusfocusoutblurchange
Refer to the input events section for an explanation for what each event does.
Wrapping up
Three types of fields are commonly used to build websites. They are:
- Input
- Textarea
- Select menu
When you work with <input> elements, make sure to use the correct type attribute.
Exercise
- Create a text field
- Get the value of the field when the
inputevent occurs - Get the value of the field when the
focusevent occurs - Get the value of the field when
focusoutorblurevents occur
- Get the value of the field when the
- Create five checkboxes
- Check three of the five checkboxes
- Get checked checkboxes with JavaScript
- Get checked checkboxes when the
changeevent fires
- Create five radio buttons
- Select a radio button
- Get the value of the selected radio
- Get the value of the selected radio when the
changeevent fires
- Create a textarea
- Get the value of the textarea when the
inputevent occurs - Get the value of the textarea when the
focusevent occurs - Get the value of the textarea when
focusoutorblurevents occur
- Get the value of the textarea when the
- Create a text field
- Get the value of the field when the
inputevent occurs - Get the value of the field when the
focusevent occurs - Get the value of the field when
focusoutorblurevents occur
- Get the value of the field when the
<input type="text" />>const input = document.querySelector('input')input.addEventListener('input', ev => { console.loc(ev.target.value)})
input.addEventListener('focus', ev => { console.loc(ev.target.value)})
input.addEventListener('blur', ev => { console.loc(ev.target.value)})Create five checkboxes
- Check three of the five checkboxes
- Get checked checkboxes with JavaScript
- Get checked checkboxes when the
changeevent fires
<input type="checkbox" name="checkbox1" value="1" checked /><input type="checkbox" name="checkbox2" value="2" /><input type="checkbox" name="checkbox3" value="3" /><input type="checkbox" name="checkbox4" value="4" checked /><input type="checkbox" name="checkbox5" value="5" checked />// Getting checked checkboxesconst checkboxes = [...document.querySelectorAll('input')]const checkedCheckboxes = checkboxes.filter(checkbox => checkbox.checked)console.log(checkedCheckboxes)// Get all checked checkbox when change firesdocument.addEventListener('change', ev => { const checkboxes = [...document.querySelectorAll('input')] const checkedCheckboxes = checkboxes.filter(checkbox => checkbox.checked) console.log(checkedCheckboxes)})- Create five radio buttons
- Select a radio button
- Get the value of the selected radio
- Get the value of the selected radio when the
changeevent fires
<div class="radio"> <label for="r1">Radio 1</label> <input type="radio" value="r1" checked /></div><div class="radio"> <label for="r2">Radio 2</label> <input type="radio" value="r2" /></div><div class="radio"> <label for="r3">Radio 3</label> <input type="radio" value="r3" /></div><div class="radio"> <label for="r4">Radio 4</label> <input type="radio" value="r4" /></div><div class="radio"> <label for="r5">Radio 5</label> <input type="radio" value="r5" /></div>// Getting the value of the seleced radioconst checkedRadio = document.querySelector('input[checked]')const value = checkedRadio.valueconsole.log(value) // r1// Get the value of the selected radio when the `change` event firesdocument.addEventListener('change', ev => { const checkedRadio = document.querySelector('input[checked]') const value = checkedRadio.value console.log(value)})- Create a textarea
- Get the value of the textarea when the
inputevent occurs - Get the value of the textarea when the
focusevent occurs - Get the value of the textarea when
focusoutorblurevents occur
- Get the value of the textarea when the
<textarea> </textarea>const textarea = document.querySelector('textarea')textarea.addEventListener('textarea', ev => { console.loc(ev.target.value)})
textarea.addEventListener('focus', ev => { console.loc(ev.target.value)})
textarea.addEventListener('blur', ev => { console.loc(ev.target.value)})Welcome! Unfortunately, you don’t have access to this lesson. To get access, please purchase the course or enroll in Magical Dev School.
Unlock this lesson