We are going to build a countdown timer together in this series. We’ll start by counting down to the end of this month. Then, to the end of the year. Then, a few years down the road.
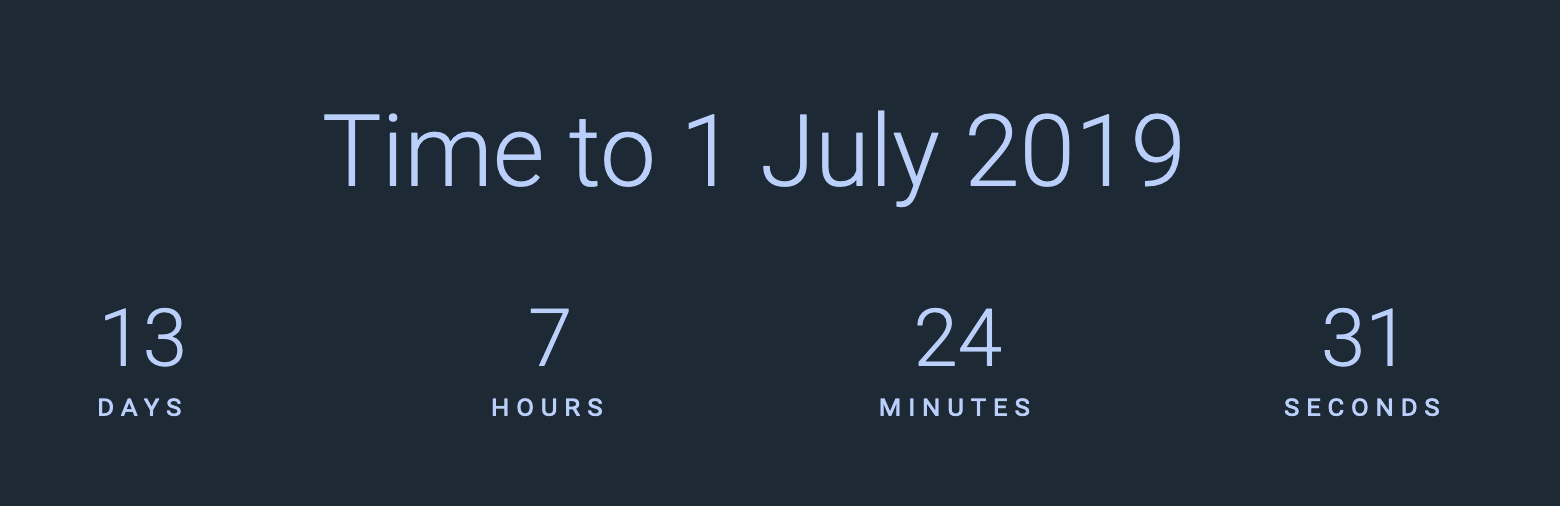
It looks like this:
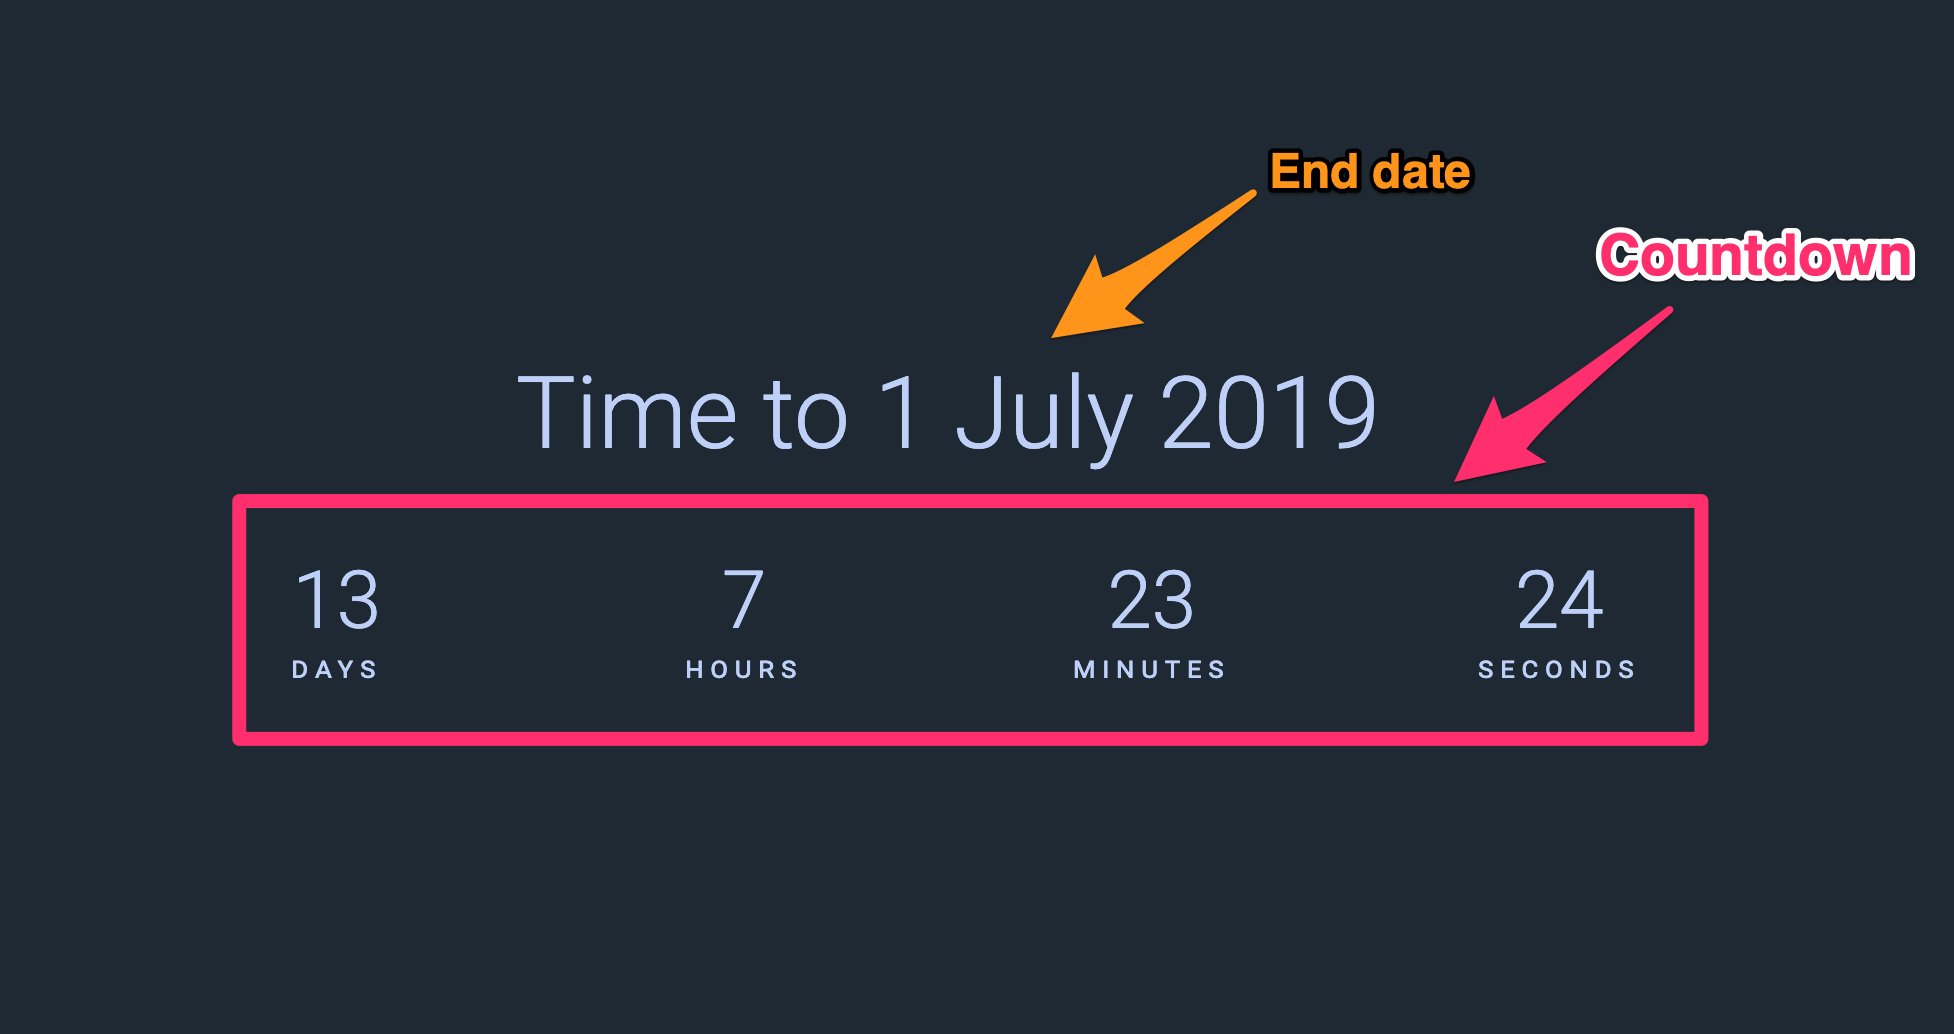
Anatomy of the countdown timer
There are two parts in a countdown timer:
- The end date
- The countdown itself
We can write the HTML like this:
<div class="countdown"> <h1 class="countdown__target">Time to ...</h1> <div class="countdown__timer">...</div></div>The end date
People use countdown timers to count to an event, like the launch of a product, end of sales, and start of a new year. If you’re using a countdown timer for that purpose, it makes sense to include the event in the timer.

For this countdown timer, we’ll count to a specific date instead.
Since we’re counting down to a date, we want to use the <time> element to create the date. We also want to include a datetime attribute.
<!-- Setting end date to 1 July, 2019 --><h1 class="countdown__target"> Time to <time datetime="2019-07-01">1 July 2019</time></h1>The countdown timer
To count to the end of this month, you need four different units:
- Days
- Hours
- Minutes
- Seconds
Each unit should be wrapped in its own HTML element since they’re independent of other units.
A valid HTML is:
<div class="countdown__timer"> <div class="timer__box"> <span class="timer__number">20</span> <span class"timer__unit">years</span> </div> <!-- ... --><div>We can make the HTML simpler if you use a custom attribute selector (like data-unit) to create the units.
Here’s the HTML and CSS to do it:
<div class="countdown__timer"> <div class="timer__box" data-unit="years"> <span class="timer__number">20</span> </div> <div></div></div>.timer__box::after { content: attr(data-unit);}That’s it!
Let’s create the countdown next.
Welcome! Unfortunately, you don’t have access to this lesson. To get access, please purchase the course or enroll in Magical Dev School.
Unlock this lesson