Essential CSS
JavaScript Roadmap
Learn JavaScript
Mastering Web Typography
Practical Astro
Understanding Async JS
Unorthodox Tailwind
API Masterclass
Build and Deploy
The Beginner Freelancer
Real World Node
Profile Billing Logout
Understanding Async JS
Lesson Plan
  1. Introduction
    1. What is Asynchronous JS?
    2. Callbacks are not automatically asynchronous
    3. What is an API?
    4. Evolution of HTTP APIs
    5. Ajax vs Asynchronous JavaScript
  2. Fundamental Concepts
    1. How to fetch resources
    2. Using XHR
    3. Using the Fetch API
    4. Using libraries
    5. Core JavaScript concepts
    6. Understanding Promises
    7. Understanding Async Functions
    8. Understanding the Event Loop
    9. Understanding JSON
    10. Async JS Best Practices
    11. Using Optimistic UI
  3. Understanding Rest API
    1. Diving into Rest APIs
    2. The Rest Architecture
    3. The Rest Structure
    4. Anatomy of a Request
    5. What's an endpoint
    6. Request methods
    7. Understanding request headers
    8. Understanding the request body
    9. Authentication
    10. Basic Authentication
    11. Bearer Authentication
    12. Authenticating with API keys and API Secrets
    13. Cross Origin Resource Sharing
    14. Anatomy of a response
    15. HTTP Statuses
    16. Response headers
    17. The response body
    18. Handling Errors
    19. Reading API documentations
    20. Understanding Curl
  4. Node Basics
    1. Why we are using Node
    2. Command Line Basics
    3. Installing Node
    4. Managing dependencies
    5. Using ES Modules in Node
    6. Using Node
    7. Restarting the server automatically
    8. Sending requests via Node
    9. Protecting API keys and secrets
  5. Building a server
    1. What's a server
    2. Building a simple server with Express
    3. Two kinds of servers
    4. API Server architecture
    5. Handling routes
    6. Understanding Middlewares
    7. Enabling CORS
    8. Receiving data
    9. Sending responses
    10. Handling errors in Express
    11. Using the server as a proxy
    12. Minimum viable server
  6. Open Authorization
    1. Open Authorisation (OAuth)
    2. Authenticating with Access Tokens
    3. Obtaining Access Tokens
    4. Public and Confidential Clients
    5. Authorisation Code Grant
    6. Understanding scope
    7. Proof Key for Code Exchange (PKCE)
    8. PKCE with Twitter
    9. Dynamic state and `code_verifier`
    10. Saving the access token in cookies
    11. Passing access tokens to the browser
    12. Saving the access token in local storage
    13. Refresh Token Grant
    14. Device Code Grant
    15. Client libraries vs REST
  7. Building Social Media Logins
    1. Introduction
    2. Starter Files
    3. Creating SSL certificates
    4. Login in with Github
    5. Github: Saving the token to local storage
    6. Github: Persisting the login status
    7. Login with Twitter
    8. Twitter: Saving the token to local storage
    9. Twitter: Persisting the login status
    10. Twitter: Refreshing the access token
    11. Login with Facebook
    12. Facebook: Saving the token to localStorage
    13. Facebook: Persisting the login status
    14. Facebook: Refreshing the access token
    15. Login with google
    16. Google: Saving the token to localStorage
    17. Google: Refreshing the access token

Managing dependencies

1m:33s

Projects created with Node generally have lots of packages. These packages are also often called libraries or dependencies.

Lucky for us, Node provides us with sufficient infrastructure to manage our dependencies out of the box. This infrastructure is called npm and it uses a package.json file.

Creating a project

First, you need to create a folder to house your project. You can call it anything you want.

Initializing npm

Next, you want to navigate to this project with your Terminal.

When you’re inside the project, run npm’s init command. This command creates a package.json that holds information about dependencies.

Terminal window
npm init

When you run npm init, the Terminal will prompt you with lots of questions.

These questions are only relevant if you’re writing a package that you want others to consume. We’re not doing that so we can ignore all of these questions and just hit enter for every question that pops up.

When the process is complete, npm will create a package.json file. Here’s an example of what package.json contains.
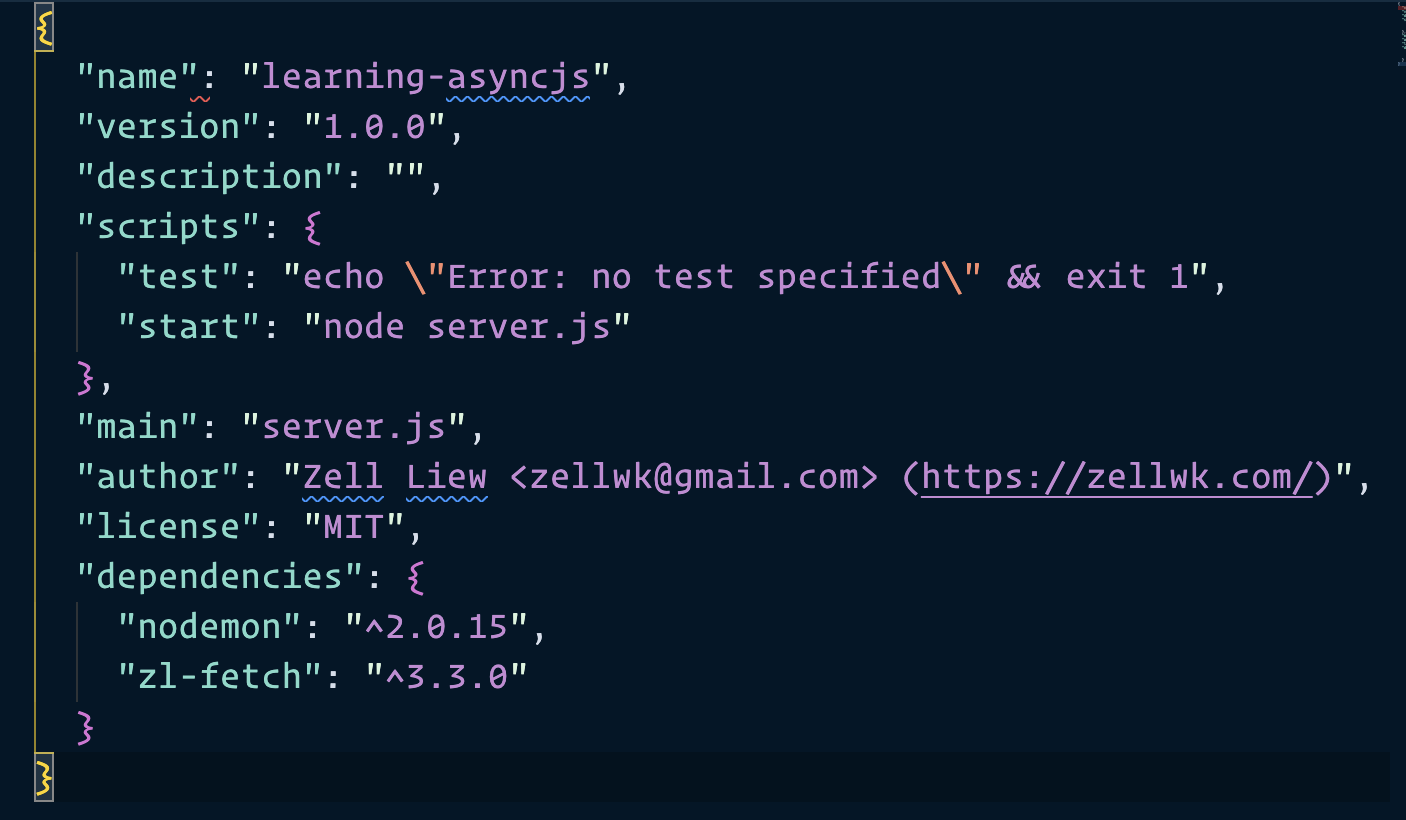
Example of the Package.json file.
Note

You don’t have know most of values at the moment. We’ll cover everything you need to know to make a server in this course.

Saving Dependencies

When you download a library, you can save it into the package.json file with a -S flag or a -D flag.

  • -S or --save: Save as a dependency
  • -D or --save-dev: Save as a dev dependency

Here’s what they mean:

  • Dependencies are used to indicate packages that are critical for the server to work.
  • Dev dependencies are used to indicate packages that are used in development mode.

Don’t worry about the differences for now. We’ll talk about the difference between dependencies and dev dependencies again as we install some packages over the next few lessons.