If you are already familiar with writing code and code editors in general, feel free to skip this lesson and go straight to the course proper. If not, we’ll help you get set up here.
In theory, all you need as which ever text editing software that comes with your computer. But we suggest you install a code editor because they come with syntax highlighting. This means the code you write will get colour-coded, making it slightly easier to figure out if you typed something wrong, or missed out a closing bracket.
There are many different code editors out there, and if you already have a preferred one, go ahead and use that. If this is your first time writing your own code, we suggest trying out Visual Studio Code (VS Code) because it is cross-platform (meaning it works on Windows, Mac and Linux) and works well out-of-the-box.
You can follow the instructions at https://code.visualstudio.com/docs/setup/setup-overview to install and get it set up, and it should look something similar to this:
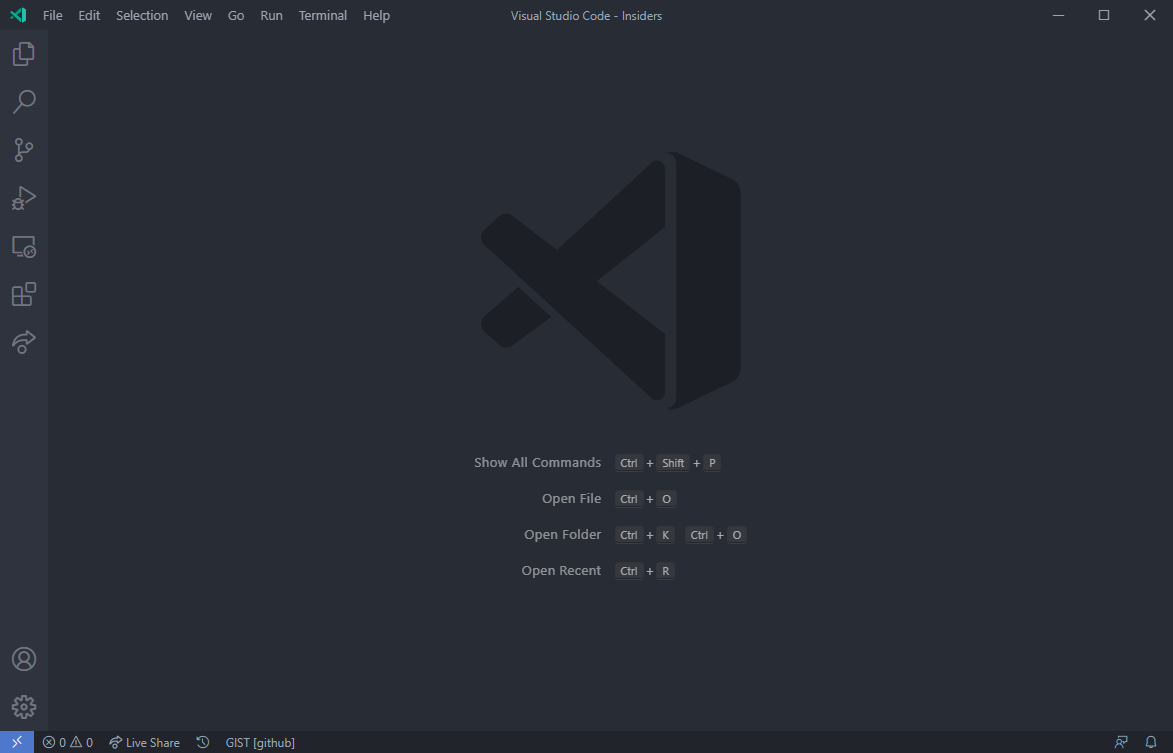
We suggest you create a dedicated folder for all the files related to this course to make things easier to keep track of. VS Code has an Explorer interface on the sidebar, and if you drag the folder into VS Code, it will allow you quickly view and access all the files in that folder. For this example, we are naming our new folder Sites.
You can create new files and folders directly from VS Code. Let’s familiarise ourselves by creating a HTML file and a CSS file. If you hover over the first icon next to your folder name, it should say New File. Click on it.
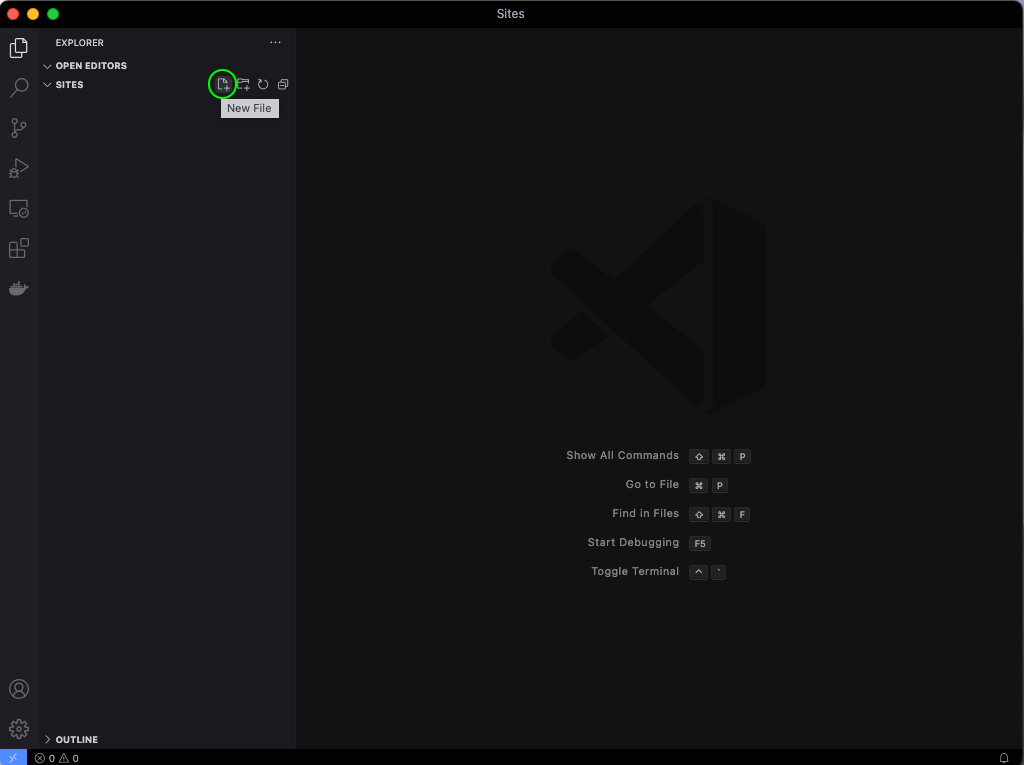
You will be able to type in the filename of this new file you want to create. Go with index.html and press enter.
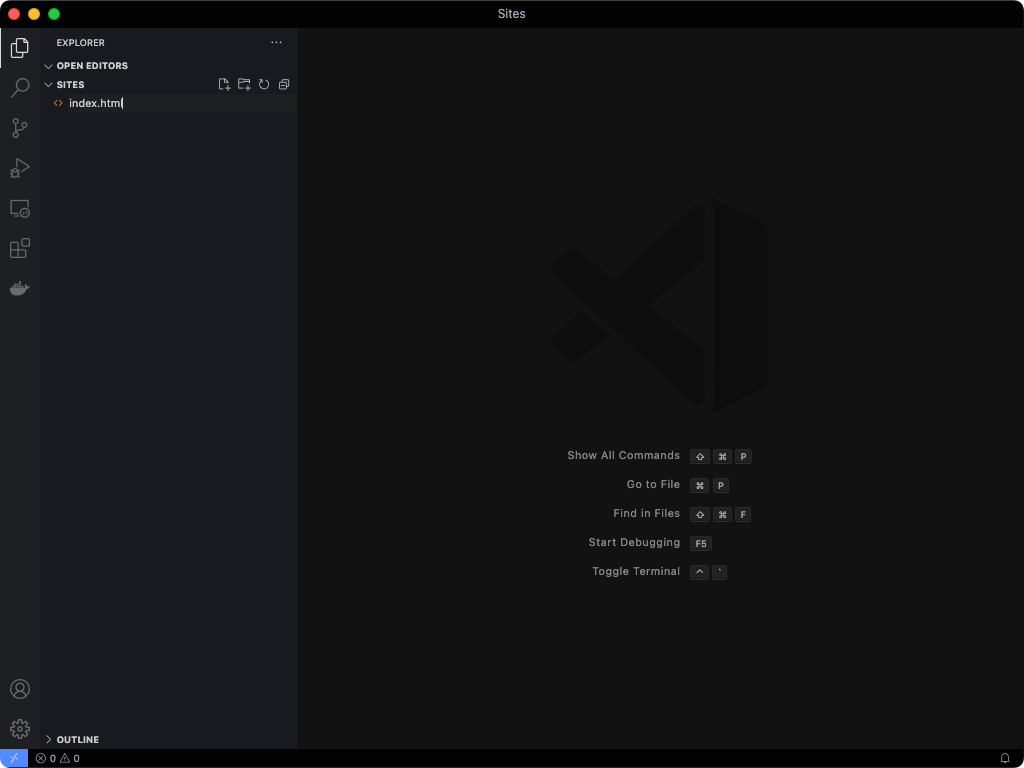
If you check the folder now via your computer’s file explorer, you will see your newly created file in the folder.
Copy the contents below into your index.html file. And remember to save the file.
<!doctype html><html lang="en">  <head>    <meta charset="utf-8" />    <meta name="viewport" content="width=device-width, initial-scale=1" />    <title>Remember, this shows up on Google</title>  </head>
  <body>    <h1>Hello, dinosaur! 🦖</h1>  </body></html>
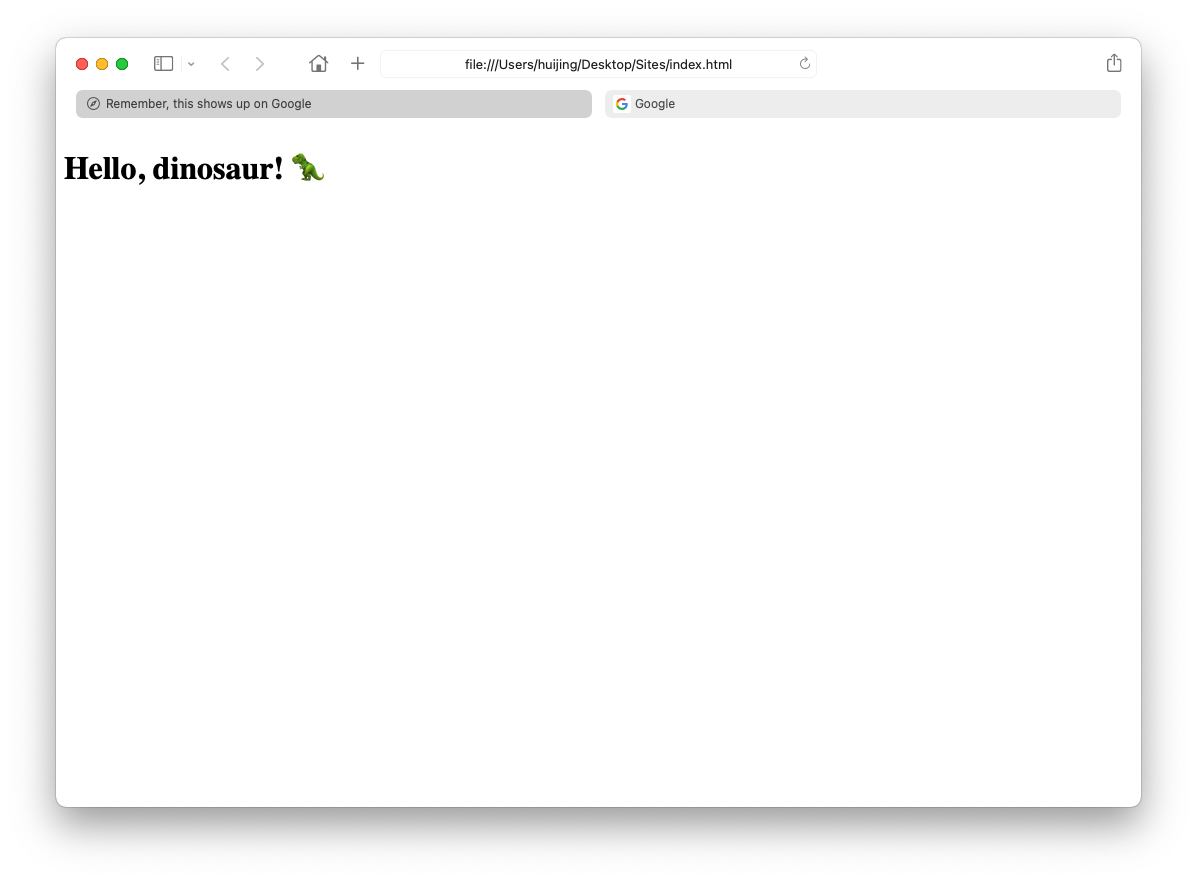
If you open this file with your browser, you should see a page with a heading, and if you look at the tab title, you should see the text within the <title> tag. Feel free to change up the content if you like.
Now, let’s also create a new CSS file. Do the same as you did earlier and click on the New File icon. Name the file styles.css this time and press Enter.
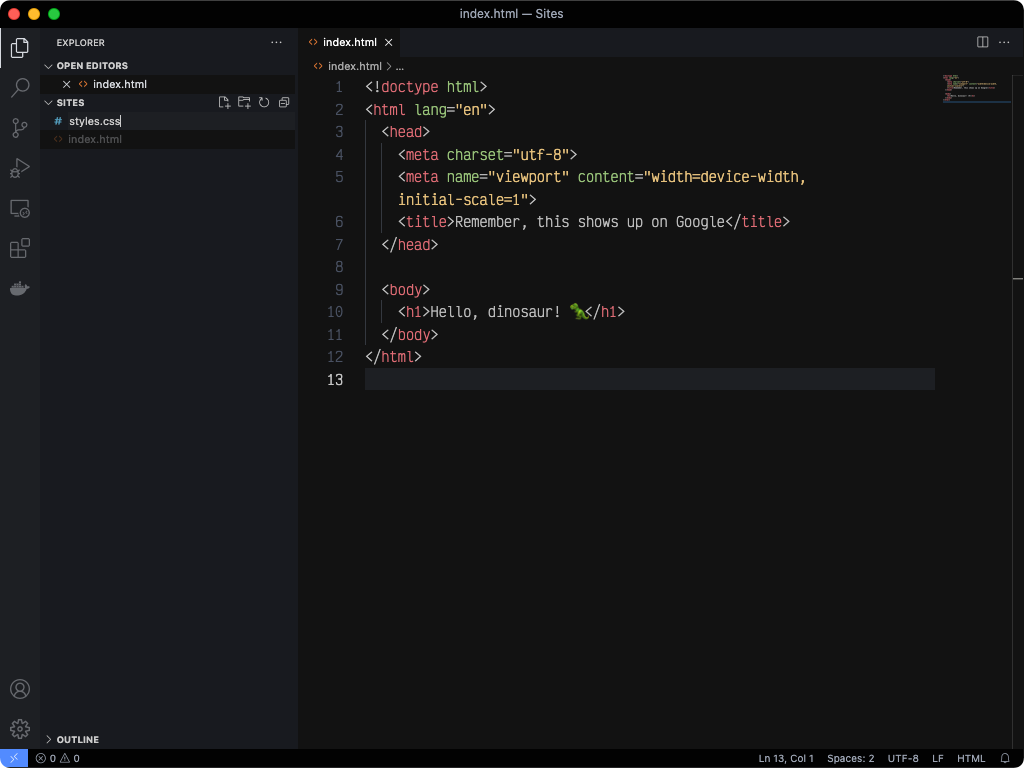
In the earlier section on Applying CSS to your web page, you learned that connecting an external CSS file to a HTML document is done using the <link> metatag, so let’s add this to your index.html file.
<link rel="stylesheet" href="styles.css" />So your HTML file should now look like this.
<!doctype html><html lang="en">  <head>    <meta charset="utf-8" />    <meta name="viewport" content="width=device-width, initial-scale=1" />    <title>Remember, this shows up on Google</title>    <link rel="stylesheet" href="styles.css" />  </head>
  <body>    <h1>Hello, dinosaur! 🦖</h1>  </body></html>
Let’s add in a test line of CSS to see if things are working.
body { background-color: orange;}The background of your web page should now be a gaudy orange colour. If not, something might have gone wrong.
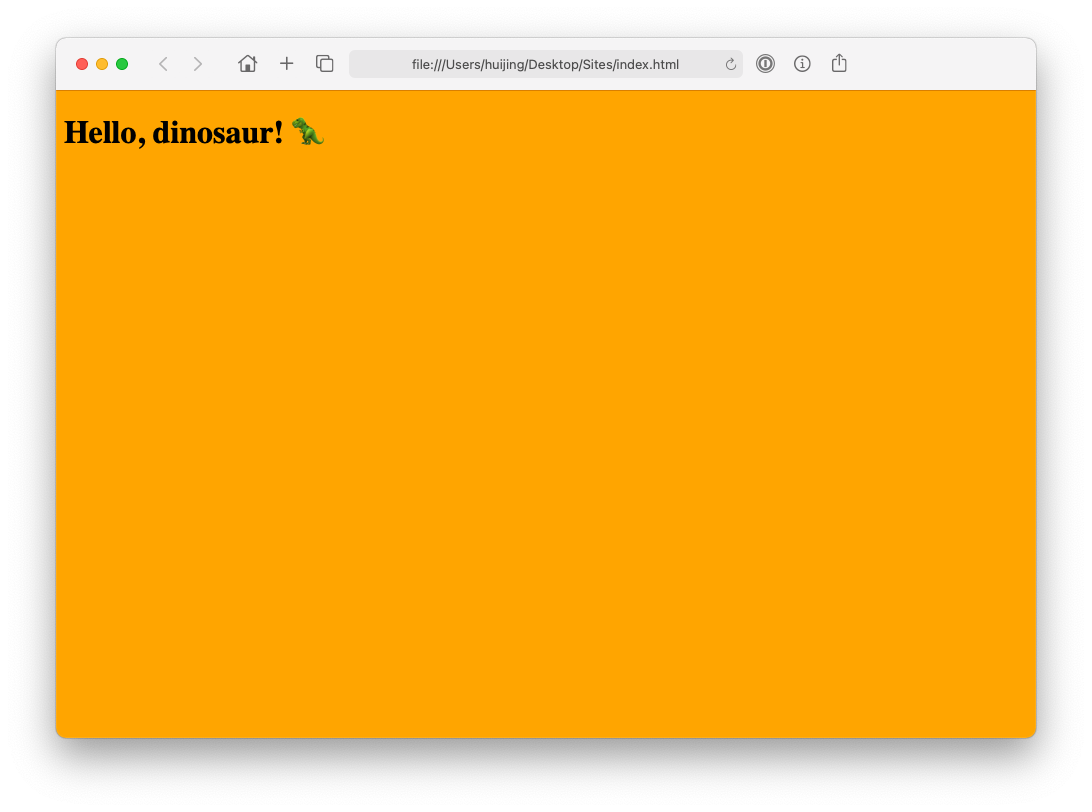
Start by checking the spelling of your file names, perhaps you chose to name your CSS file something different from the example. Or it might be you spelled the CSS property incorrectly. These are very common mistakes that even developers who have been doing this for years still run into, so don’t worry about it, it happens to the best of us.
Welcome! Unfortunately, you don’t have access to this lesson. To get access, please purchase the course or enroll in Magical Dev School.
Unlock this lesson